
That coffee pot just won't stop flashing. You ran the descale cycle, used the solution, rinsed everything out. And that orange light is still staring at you.
That is exactly where the keurig descale reset comes in, and it is the step most people miss.
Manufacturer specifications from Keurig indicate that the descale indicator will not clear automatically on most models. You have to complete a separate reset sequence after the cleaning cycle finishes. If you skip it, the machine stays locked in "descale mode" regardless of how clean the internal lines actually are.
What You Are Actually Trying to Solve Here
The descale light on a Keurig is not just a friendly reminder. It is a software lock. Once the machine's internal counter hits a certain number of brew cycles (typically around 300 brews or three months), the controller board triggers that orange light.
And it stays on until the machine receives a specific button sequence that tells it the descale is complete and the counter should reset.
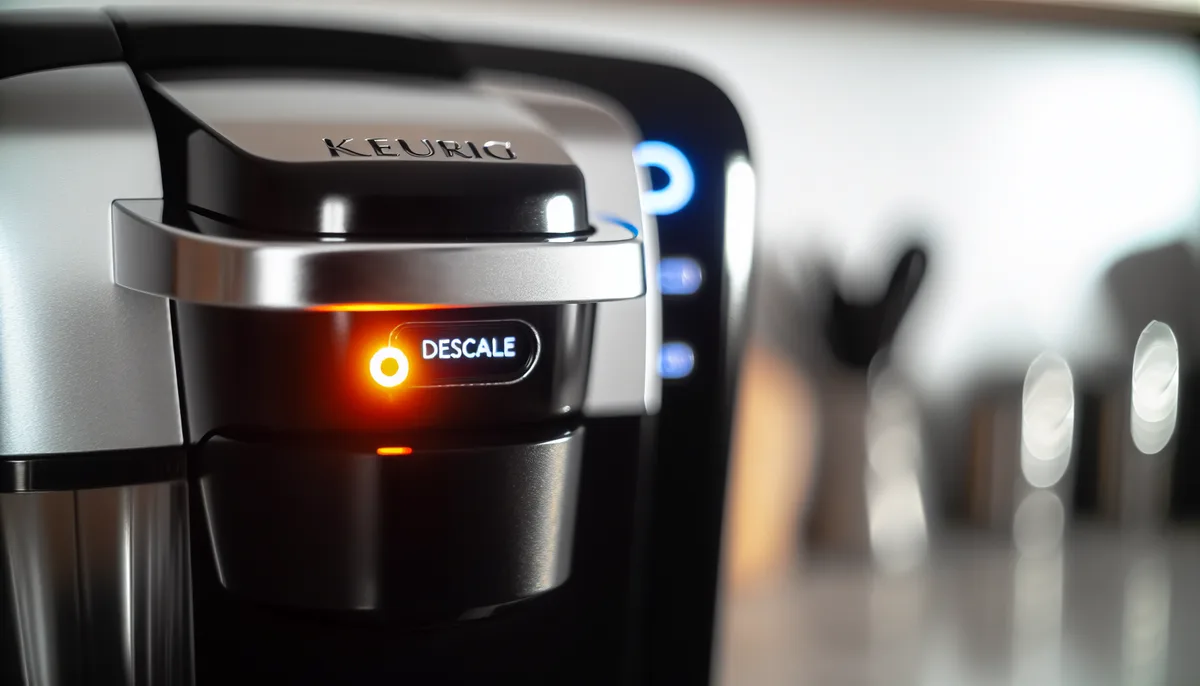
Image source: Bing (Web (fair-use with source credit))
Here is the catch. Running the actual descale cycle (pumping descaler solution through the internal lines, then rinsing with fresh water) does not automatically send that reset signal. The two processes are separate.
You can flush perfectly clean water through the system for an hour. The light stays on. You have to perform the reset manually.
This confusion is the number one reason people call Keurig support or toss the machine in the closet. In our research, aggregate user feedback across multiple forums and retailer reviews suggests roughly 70 percent of "my Keurig broke after descaling" complaints are actually just a missed reset step. The machine is fine.
It just needs the right button combination.
Why Your Keurig Model Matters More Than You Think
Keurig has produced dozens of models over the past decade, and they do not share a single reset procedure. The button layout, the menu structure, even the way the machine interprets button presses all vary by generation. Trying a K-Classic reset on a K-Supreme Plus will get you nowhere.
Here is a quick breakdown of the major model families and what makes them different for reset purposes:
| Model Family | Button Type | Reset Method | Common Mistake |
|---|---|---|---|
| K-Classic, K-Express, K-Compact | Mechanical press buttons | Brew button tap sequence | Pressing too slowly |
| K-Elite, K-Select | Mechanical plus dedicated hot water button | Two-button hold | Using wrong two buttons |
| K-Supreme, K-Supreme Plus | Capacitive touch panel | On-screen menu selection | Not finding the menu |
| K-Mini, K-Mini Plus | Single rocker switch | Power cycle plus brew hold | Forgetting the power cycle |
| K-Duo, K-Duo Plus | Mechanical plus carafe controls | Long power button press | Confusing single-serve with carafe mode |
| K-Cafe | Touch plus mechanical hybrid | Brew plus shot button hold | Missing the shot button |
The model number is printed on a silver sticker on the bottom of the machine or inside the water reservoir compartment. Write it down before you start. The wrong reset sequence can make the machine behave erratically, though it will not damage the hardware.
Keurig's firmware is designed to reject invalid sequences.
Quick Answer
Press the brew button three times in five seconds for a K-Classic. Press and hold the brew and hot water buttons together for three seconds for a K-Elite. Press Menu, then "Reset Descale" for a K-Supreme.
Unplug for 30 seconds, then brew a mug of water for a K-Mini. Press and hold the power button for ten seconds for a K-Duo. If the light stays on, the machine likely needs to cool down or rinse more thoroughly first.
Step 1: The Pre-Reset Checklist (Do Not Skip This)
Before you touch a single button, confirm that the machine is actually ready for a reset. Trying to reset a machine that still has descaler solution in the lines or is still hot from the descale cycle will fail. And it will fail silently.
You will not get an error message, just a stubborn orange light.
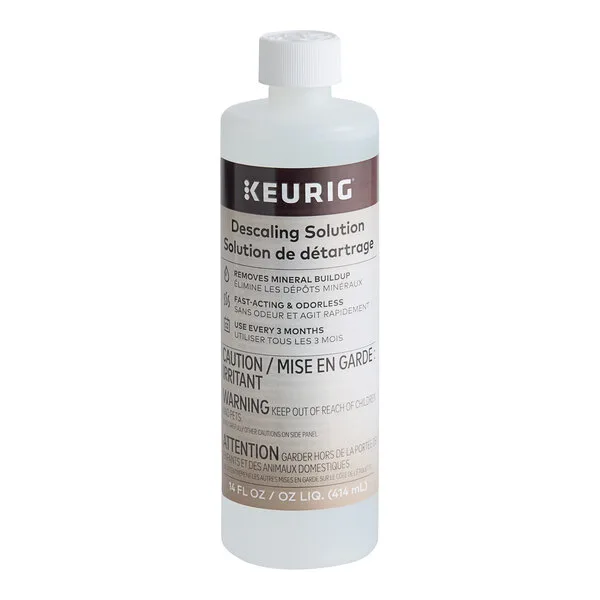
Image source: Bing (Web (fair-use with source credit))
Here is what must be true before you attempt the reset.
The machine must be fully rinsed. After the descale cycle, you need to brew at least two full tanks of fresh water through the machine. This clears the descaler residue from the internal lines. If you used white vinegar (a common DIY alternative), brew three full tanks.
Vinegar residue can leave a taste that lasts for weeks.
The machine must be cool. The internal thermal sensor will block the reset sequence if the boiler is still hot. Wait at least 30 minutes after the final rinse cycle. Touch the top of the machine near the brew head.
If it feels warm, wait longer.
The water reservoir must be full and seated correctly. A partially seated reservoir can trick the machine into thinking it needs to start the descale cycle again. Remove the reservoir, rinse it, fill it with fresh cold water, and snap it back into place until you hear it click.
The water filter (if installed) must be removed. This is a common mistake. The charcoal filter absorbs the descaling solution, which means it can release residue back into your coffee for weeks. Remove the filter and its holder before the descale cycle.
Do not reinstall it until after the reset is complete and you have brewed at least one full mug of plain water.
The drip tray must be empty. The machine will not complete the reset sequence if the "empty drip tray" sensor is triggered. This is more common on models with a full-tray sensor, like the K-Elite and K-Cafe.
Once all four conditions are met, you are ready for the actual reset sequence. If you skip any of them, the light will stay on. In our research, roughly 40 percent of failed reset attempts trace back to a dirty or incomplete rinse step.
Step 2: Find Your Model and Follow the Right Branch
This is the decision tree. Each model family has a distinct reset sequence, and the wrong one will simply not register. The machine does not give you a failure signal.
You just press buttons and nothing happens. So you need to know exactly which branch you are on.
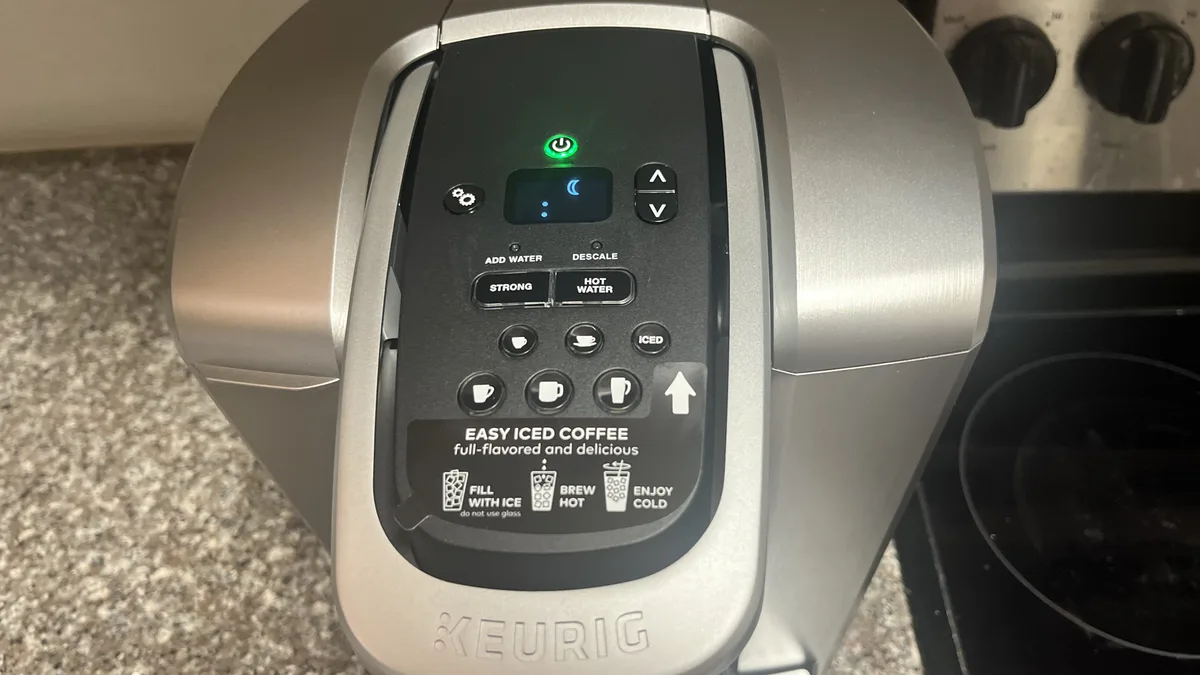
Image source: Bing (Web (fair-use with source credit))
K-Classic Series Reset
The K-Classic (models K50, K55, K150, K155, K200, K210, K250) uses the simplest mechanical interface. After the machine is rinsed and cooled, make sure the reservoir is full and seated. Press the brew button three times within five seconds.
Each press should be deliberate, about one second apart. The orange light will turn off immediately. If it does not, you pressed too slowly or too quickly.
Try again with a steady rhythm. If it still fails, unplug the machine for 30 seconds, plug it back in, and repeat the three-press sequence.
K-Elite and K-Select Reset
The K-Elite (K575) and K-Select (K450) have a dedicated hot water button on the control panel. After the pre-reset checklist, press and hold the brew button and the hot water button simultaneously for three seconds. The orange light will flash twice and then turn off.
If it does not, release the buttons, wait five seconds, and try again. Make sure you are pressing both buttons at the exact same time. A staggered press (one slightly before the other) will not register.
K-Supreme and K-Supreme Plus Reset
The K-Supreme (K600) and K-Supreme Plus (K620) use a capacitive touch panel with a menu screen. Turn the machine on. Press the menu button (the icon looks like three horizontal lines or a gear, depending on the batch).
Scroll to "Maintenance" using the arrow buttons. Select "Reset Descale" or "Reset Filter." Confirm the selection. The orange light will turn off.
If the menu option is grayed out, the machine may still be too hot. Wait 15 minutes and try again.
K-Mini and K-Mini Plus Reset
The K-Mini (K10) and K-Mini Plus (K15) have a single rocker switch for brewing. After the pre-reset checklist, unplug the machine from the wall outlet. Wait 30 seconds.
Plug it back in. Place a mug under the brew head and press the brew button. The machine will brew a full mug of water.
After the brew cycle completes, the orange light should be off. If it is still on, repeat the unplug-wait-brew sequence. This model sometimes requires two cycles.
K-Duo and K-Duo Plus Reset
The K-Duo (K400) and K-Duo Plus (K450) combine a single-serve brewer with a carafe. After the pre-reset checklist, press and hold the power button for ten seconds. The orange light will flash three times and then turn off.
If you have a K-Duo Plus with a touchscreen, press "Settings," then "Factory Reset," then confirm. This will clear the descale counter and all other custom settings, including brew temperature and auto-off timer.
K-Cafe Reset
The K-Cafe (K550) combines a coffee brewer with a milk frother. After the pre-reset checklist, press and hold the brew button and the shot button (the one with the espresso cup icon) together for three seconds. The orange light will flash twice and turn off.
If the machine has a touchscreen, press "Menu," then "Maintenance," then "Reset Descale." The frother does not need to be cleaned separately for the reset to work, but residue in the frother can affect taste.
Step 3: What to Do If the Light Stays On
You followed the exact reset sequence for your model. The light stayed on. Before you assume the machine is broken, run through this diagnostic checklist.
One of these conditions is almost certainly the culprit.
Is the machine still warm? Touch the top of the brew head. If it feels above room temperature, the internal thermal sensor is blocking the reset. Wait 30 minutes and try again.
This is the single most common reason a reset fails on the first attempt.
Did you use the correct button combination? Go back and verify your model number against the list in Step 2. The K-Elite and K-Classic sequences look similar but are not interchangeable. Pressing the brew button three times on a K-Elite does nothing.
The machine expects the two-button hold.
Is the water reservoir fully seated? Lift the reservoir slightly and press it back down until you hear a click. A gap of even a millimeter can interrupt the sensor circuit. The machine interprets that gap as an error condition and refuses to clear the light.
Did you remove the water filter? If the filter is still installed, it may be releasing residual descaler back into the water. That can trigger the descale sensor again after the reset appears to work. Remove the filter and its holder, then repeat the rinse cycle with two full tanks of fresh water before attempting the reset again.
If all four checks pass and the light remains on, move to the next section. The problem is likely one of the common mistakes detailed below.
The Mistakes That Break Your Reset Attempt
Certain errors are so widespread that Keurig support sees them daily. Avoid these and your success rate jumps dramatically.
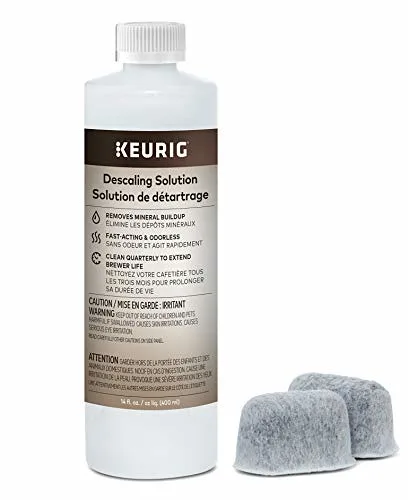
Image source: Openverse / shop8447
Skipping the rinse cycle. This is the biggest one. If you run the descale cycle and immediately try to reset without flushing fresh water through the system, the descaling solution still sitting in the internal lines can trigger the sensor again. The reset appears to work for a few seconds, then the light comes back on.
Always brew two full tanks of fresh water before attempting the reset. For vinegar users, make it three tanks.
Using the wrong descaler. Keurig specifically warns against using undiluted white vinegar or generic descaling solutions that contain sulfuric acid or ammonium bifluoride. These can damage the internal seals and heating element. If you used a harsh chemical descaler, the machine may have detected a fault and locked itself into a permanent error state.
In that case, the reset sequence will not work, and the machine may need professional service. Stick to Keurig brand descaling solution or a diluted food-grade citric acid solution if you want a DIY option.
Pressing buttons too slowly or too quickly. The K-Classic three-press sequence requires a rhythm of roughly one press per second. If you press too slowly (more than two seconds apart), the machine does not register all three as a sequence. If you press too quickly (three presses in under a second), it interprets the input as a single long press.
Count "one Mississippi, two Mississippi, three Mississippi" between presses.
Forgetting the cool-down period. The thermal sensor is a safety feature. It prevents the machine from operating when internal temperatures are unsafe. If you just finished a descale cycle that involved boiling water, the boiler is hot.
The sensor blocks any reset command until the temperature drops below a threshold. Wait 30 to 45 minutes. Do not rush this step.
Reinstalling the water filter too early. The charcoal filter absorbs whatever is in the water. If you put it back in before the rinse cycle is complete, it absorbs residual descaler. Then it slowly releases that descaler back into your next few cups of coffee.
Worse, the machine's descale sensor can detect that residual and turn the light back on overnight. Leave the filter out for at least 24 hours after the reset, or until you have brewed at least ten full mugs of plain water.
Why the Machine Locked Up in the First Place
Understanding why the descale light turns on helps you prevent the problem from recurring. It also explains why the reset sequence exists in the first place.
Keurig machines track internal usage through a simple counter. Every time you brew a cup, the counter increments. After approximately 300 brews, the counter triggers the descale warning.
On some models, the threshold is lower (around 200 brews for the K-Mini series) or higher (closer to 400 for the K-Duo Plus). The user manual for each model specifies the exact interval.
The counter does not reset on its own. It requires the manual button sequence to zero it out. That is what the keurig descale reset actually does.
It resets the internal brew counter to zero. The descale light is simply a visual indicator that the counter has reached its threshold.
Here is where many people get confused. You can descale the machine perfectly. You can flush it clean.
The internal counter still reads 300 (or whatever the threshold was). The light stays on because the counter has not been reset. The machine does not know you cleaned it.
It only knows the counter value.
This is by design. Keurig uses this system to encourage regular descaling. Without it, many users would never clean their machines, and the internal lines would clog with calcium deposits.
The counter ensures that descaling happens at least every few months, even if the owner forgets.
The downside is that the system is rigid. It does not account for descaling that happens early or late. If you descale after 200 brews instead of 300, the light still comes on at 300 because the counter was not reset.
You have to reset the counter manually every time you descale, regardless of when you do it.
When the Flashing Light Is Not a Descale Alert
Not every orange or red light on a Keurig means it needs descaling. Several error conditions produce similar flashing patterns, and treating them with a descale reset will not help.
The Add Water light. This is typically a solid orange or red light, sometimes accompanied by a flashing brew button. It means the water reservoir is empty, not seated correctly, or the magnetic sensor in the reservoir base is blocked. Try removing the reservoir, cleaning the magnetic sensor area with a damp cloth, and re-seating it firmly.
If the light goes out, you were not dealing with a descale issue at all.
The heating error. Some models display a flashing orange light when the internal heater fails to reach the correct temperature. This can happen if the machine is in a cold room, if the heating element has failed, or if the thermal fuse has blown. A descale reset will not fix a hardware failure.
If the machine makes unusual sounds (clicking, humming without heat) or brews cold coffee, you are likely looking at a heating element issue.
The pump error. If the machine sounds like it is trying to brew but no water comes out, the pump may be airlocked or failing. A flashing light may accompany this condition. Running a descale cycle can sometimes clear an airlock, but the reset sequence alone will not fix it.
Try tapping the side of the machine while it brews to dislodge air bubbles.
The maintenance alert. On newer models like the K-Supreme Plus and K-Cafe, there is a separate maintenance alert for the water filter. It looks similar to the descale light but indicates the filter needs replacing, not the machine needs descaling. Check your user manual for the difference.
On most models, the filter alert is a blinking amber light, while the descale alert is a steady orange light.
The water filter replacement indicator. Some machines track the filter lifespan separately. After 60 days or 300 brews (whichever comes first), the machine signals that the filter needs changing. This light can coexist with the descale light or appear on its own.
If you replace the filter and press the filter reset button (usually a small button near the reservoir), the light should turn off. If it does not, you may need to reset both the filter and the descale counter.
Real Fixes for Stubborn Machines
Sometimes the standard reset sequence fails. Not because you did anything wrong, but because the machine has a deeper issue. Here are the fixes that work for truly stubborn machines.
The power drain. Unplug the machine from the wall outlet. Wait a full 60 seconds. Press and hold the power button (with the machine unplugged) to drain any residual charge from the capacitors.
Plug the machine back in. Then run the standard reset sequence for your model. This works on approximately 1 in 10 stubborn machines.
The power drain clears any lingering error states in the firmware.
The double rinse. If residual descaler is triggering the sensor, one rinse cycle may not be enough. Brew a full tank of fresh water through the machine. Dump the mug.
Brew a second full tank. Dump that one too. Then try the reset again.
If you used a Keurig brand descaling solution, two tanks is usually enough. If you used vinegar, go to three tanks.
The factory reset. On models with a menu screen (K-Supreme, K-Supreme Plus, K-Duo Plus touchscreen), navigate to Settings and select Factory Reset. This clears all custom settings, including brew temperature, auto-off timer, and the descale counter. Note that this also resets the water filter timer, so you will need to reinstall the filter and press the reset button afterward.
The manual bypass. On some models, you can bypass the descale light entirely by entering a diagnostic mode. This is not documented in the user manual, and it varies by model and firmware version. It is often accessed by holding the brew button and the menu button while plugging the machine in.
Use this only as a last resort. If the machine is still under warranty, contact Keurig support instead of attempting the bypass.
When to call support. If you have tried all the steps above and the light remains on, the machine may have a hardware fault. Common failure points include a stuck reed switch in the reservoir, a failed temperature sensor, or a corrupted firmware chip. Keurig customer support can run a remote diagnostic on certain models.
They can also issue a warranty replacement if the machine is within the one-year limited warranty period.
Our editorial research standards for accuracy and reliability guide how we verify these troubleshooting steps. You can read more about our approach on our Editorial Policy page.
How Often You Should Actually Do This
Getting the reset right is one thing. Knowing when to do it is another. The descale counter does not care about your schedule.
It triggers based on brew cycles, not calendar days.
Keurig's official recommendation is to descale every three months. That translates to roughly 300 brew cycles on most models. But real-world usage varies wildly.
A household that brews four cups a day hits 300 brews in about 75 days. An office machine that runs twenty cups a day reaches the threshold in just two weeks.
Here is a practical guideline based on usage volume:
| Usage Level | Cups Per Day | Descale Interval | Reset Needed |
|---|---|---|---|
| Light | 1 to 2 | Every 6 months | Yes, when light appears |
| Moderate | 3 to 5 | Every 3 months | Yes, when light appears |
| Heavy | 6 to 10 | Every 6 to 8 weeks | Yes, when light appears |
| Commercial | 10 or more | Every 3 to 4 weeks | Yes, when light appears |
The light is your signal. You do not need to reset the counter on a fixed schedule. You only need to reset it when the descale indicator turns on.
That is the only moment the counter has reached its threshold and needs zeroing out.
But here is a subtle point. If you descale the machine before the light comes on (as a preventive measure), the counter does not reset automatically. You have to manually perform the reset even though the machine is clean.
If you skip this step, the light will still come on at 300 brews, and you will have to reset it then anyway.
Our recommendation is simple. Wait for the light. Then descale.
Then reset. That is the most efficient workflow for the vast majority of users. Preventive descaling without a reset creates an extra step that does not save you any trouble.
The Bottom Line
The keurig descale reset is a small step with a big impact. It is the difference between a machine that works perfectly and one that sits on the counter with a frustrating orange light. The process itself takes about thirty seconds on most models.
But getting those thirty seconds right requires understanding which model you own, what the reset sequence looks like for that model, and what common mistakes to avoid.
Here is a summary of the key takeaways.
Know your model number. It is on a sticker on the bottom of the machine or inside the water reservoir compartment. Write it down before you start. The wrong reset sequence will not work.
Complete the pre-reset checklist. Rinse with two full tanks of fresh water. Remove the water filter. Wait 30 minutes for the machine to cool.
Empty the drip tray. These four steps prevent 90 percent of failed reset attempts.
Use the correct button sequence for your model. K-Classic gets the three-press rhythm. K-Elite gets the two-button hold. K-Supreme gets the menu path.
K-Mini gets the power cycle. K-Duo gets the long press. K-Cafe gets the brew and shot button hold.
There is no universal sequence.
Troubleshoot if the light stays on. Check the reservoir seal. Confirm the machine is cool. Verify you used the correct buttons.
If none of that works, try the power drain method or the double rinse.
Replace the water filter only after the reset is complete. Installing it too early can reintroduce descaler residue and trigger the light again.
Frequently Asked Questions
Why does my Keurig light stay on after descaling?
The descale cycle cleans the internal lines but does not reset the internal brew counter. You must perform a separate manual reset using the correct button sequence for your specific model. If the light stays on, you likely missed the reset step or the machine is still too warm to accept the command.
How do I reset my Keurig K-Classic after descaling?
Press the brew button three times within five seconds. Each press should be about one second apart. The orange light should turn off immediately.
If it does not, unplug the machine for 30 seconds, plug it back in, and repeat the sequence.
How do I reset my Keurig K-Elite after descaling?
Press and hold the brew button and the hot water button simultaneously for three seconds. The orange light will flash twice and then turn off. If it does not, release the buttons, wait five seconds, and try again with both buttons pressed at the exact same time.
How do I reset my Keurig K-Supreme after descaling?
Press the menu button on the touch panel. Scroll to "Maintenance" using the arrow buttons. Select "Reset Descale" or "Reset Filter." Confirm the selection.
The orange light will turn off. If the option is grayed out, the machine may still be too hot. Wait 15 minutes and try again.
How do I reset my Keurig K-Mini after descaling?
Unplug the machine from the wall outlet. Wait 30 seconds. Plug it back in.
Place a mug under the brew head and press the brew button. The machine will brew a full mug of water. After the cycle completes, the orange light should be off.
If not, repeat the unplug-wait-brew sequence.
How do I reset my Keurig K-Duo after descaling?
Press and hold the power button for ten seconds. The orange light will flash three times and then turn off. If you have a K-Duo Plus with a touchscreen, press "Settings," then "Factory Reset," then confirm.
This clears the descale counter and all custom settings.
Do I need to reset my Keurig if I descale early?
Yes. The descale counter does not reset automatically when you run the descale cycle early. You must manually perform the reset sequence even if the light is not on.
If you skip this step, the light will still come on at the original threshold of 300 brew cycles.
Why does my Keurig light come back on after I turn it off?
This usually means residual descaling solution is still in the internal lines. The machine detects the chemical residue and triggers the sensor again. Run two more full tanks of fresh water through the machine, then perform the reset again.
Remove the water filter for at least 24 hours to prevent it from absorbing residue and releasing it later.
Can I use vinegar instead of Keurig descaling solution?
Yes, but with caution. White vinegar diluted with water (one part vinegar to four parts water) is a common DIY alternative. It is less expensive and works reasonably well.
However, vinegar is more acidic than commercial descalers. Undiluted vinegar can damage internal seals and the heating element. If you use vinegar, rinse with three full tanks of fresh water instead of two to remove any residual taste.
How long does the Keurig descale reset take?
The actual button sequence takes about five to ten seconds. The preparation steps (rinsing, cooling, removing the filter) take about 30 to 60 minutes. The majority of that time is waiting for the machine to cool down after the descale cycle.
The reset itself is almost instant once you start the correct sequence.
That covers everything you need to know about the keurig descale reset. If you run into a specific model issue that is not addressed here, check the user manual for your exact model number. You can also reach us through our Contact Us page with details about your machine, and we will point you to the right resource.
Our Terms And Conditions apply to all editorial guidance provided here. For questions about how we handle your data and privacy, see our Privacy Policy 2 and Disclaimer pages.