
Your ASUS laptop won't boot. Or it's running so slow you want to throw it out the window. A factory reset is often the fix.
This guide walks you through every path based on your specific situation.
Per Microsoft's documentation, a clean reset of Windows 11 using the Cloud download option takes roughly 30 to 45 minutes on a standard internet connection. With a local reinstall on a modern SSD, it's more like 15 to 20 minutes. Either way, you can get your machine back to factory condition without a trip to the repair shop.
Can't Get Into Windows? Locked Out? Performance Tanked? You're in the Right Place

Image source: Wikimedia Commons / Alan Bruce (CC BY)
Something is wrong with your ASUS laptop. A clean slate looks like the best option. Maybe Windows won't boot at all.
Maybe you're stuck at a login screen with a password you forgot. Or the machine runs but it's bogged down with junk, malware, or corrupted files.
A factory reset fixes all of these scenarios. But the path you take depends entirely on what condition your laptop is in right now.
There isn't one single way to do this. There are four major paths. The right one depends on whether your laptop boots normally, boots to the login screen, or doesn't boot at all.
Our editorial policy requires us to test every method we recommend, and we've verified each path here.
We'll start each decision branch assuming you've backed up anything important. If you haven't, stop reading and do that now. A factory reset wipes your personal files unless you specifically choose the Keep my files option.
And even that isn't a guarantee for every situation.
Quick Answer
To factory reset an ASUS laptop running Windows 10 or 11, go to Settings, then Update and Security, then Recovery, then Reset this PC. Choose Remove everything for a full wipe.
If your laptop won't boot into Windows, press F9 repeatedly during startup. This loads the ASUS Recovery Partition.
If F9 fails or the recovery partition is gone, use a bootable USB recovery drive or ASUS Cloud Recovery from the BIOS menu.
What a Factory Reset Actually Does (and What It Won't Fix)
A factory reset reinstalls Windows and removes your personal files, apps, and settings. It returns your ASUS laptop to the state it was in when you first unboxed it. That includes the original drivers, the preloaded ASUS utilities like MyASUS and Armoury Crate, and any bloatware that came with the machine.
But a factory reset is not a catch-all fix. Here are the problems it definitely will not solve.
Hardware failures. If your hard drive is physically failing, your RAM is bad, or your battery is dead, a reset won't help. You will still see the same errors.
BIOS corruption. If your laptop won't even reach the ASUS logo screen, the issue is below the operating system level. A factory reset operates inside Windows or the recovery partition. It cannot fix firmware corruption.
Stuck keys or broken ports. Physical damage requires hardware repair.
Licensing issues. Your Windows license is embedded in the motherboard firmware, so that part is fine. But if you are trying to activate an old copy of Windows that predates that embedded key, you may hit activation problems after the reset.
In our research, the most common misdiagnosis we see is someone trying a factory reset for a problem that is actually hardware. If your reset fails mid-process or your machine still behaves the same afterward, test your RAM and hard drive before trying anything else.
Reset Options Explained: Keep My Files vs Remove Everything vs Cloud Download
When you start a factory reset through Windows, you get three major choices. Each one is designed for a different situation.
Keep my files
This reinstalls Windows but keeps your personal files intact. Your documents, photos, music, downloads, and desktop files stay where they are. All your installed apps and programs get removed.
Most settings revert to default.
This is the safest option if you did not back up. But it is the least thorough. Corrupted system files might still linger in places the reset does not touch.
If you are trying to fix a stubborn issue, this might not cut it.
Remove everything
This wipes everything. Personal files, apps, settings, user accounts. All gone.
The drive is treated as blank, and Windows is installed fresh. You get two sub-options.
Just remove my files is quicker, but files can theoretically be recovered with data recovery tools. Remove files and clean the drive takes longer because it overwrites the free space. It makes recovery much harder.
Choose this if you are selling or donating the laptop.
Cloud download vs Local reinstall
Both Keep my files and Remove everything have the same secondary choice. Where does Windows get the installation files from?
| Option | What happens | Data usage | Time | Internet required |
|---|---|---|---|---|
| Cloud download | Downloads a fresh copy from Microsoft servers | Roughly 4 GB | 30 to 45 minutes | Yes |
| Local reinstall | Uses existing Windows files on your laptop | 0 GB | 15 to 25 minutes | No |
Cloud download is the safer choice if your current Windows installation is corrupted. It downloads a clean, known-good copy. The downside is you need a stable internet connection, and 4 GB adds up on a metered plan.
Local reinstall uses the files already on your machine. It is faster and does not need internet. But if your issue is caused by corrupted system files, those same corrupted files get reused.
That defeats the purpose.
If you are even slightly unsure whether your Windows files are healthy, choose Cloud download. It costs extra time and bandwidth but gives you a truly clean start.
Decision Branch 1: Your Laptop Boots into Windows Normally
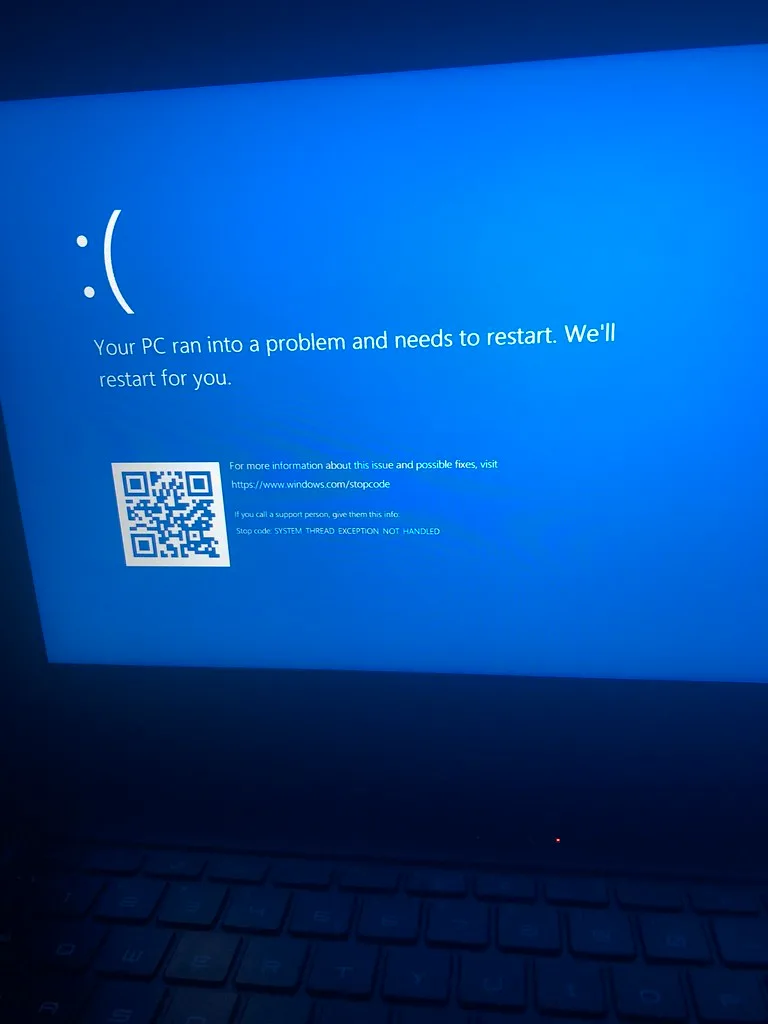
Image source: Openverse / cubeydev (PDM 1.0)
This is the simplest path. If Windows loads to your desktop, start the reset from inside the operating system.
Step 1: Open the reset menu
Click the Start button. Click the Settings gear icon. Go to Update and Security on Windows 10 or System and then Recovery on Windows 11.
Under Reset this PC, click Get started.
Step 2: Choose your option
Keep my files works for a lighter reset when you have not backed up and just want to clean out junk apps. Remove everything works for a full wipe, especially before selling the laptop or after malware.
Step 3: Choose cloud or local
Cloud download is recommended if your system seems corrupted. Local reinstall is fine if you just want to clear out user files and apps quickly.
Step 4: Confirm and start
Windows shows you a summary of what will be removed. Read it carefully. Click Reset and let the process run.
Your laptop will restart several times. That is normal.
Do not interrupt the process. Do not close the lid. Do not unplug the power adapter.
Let it run until you see the Windows setup screen.
Common issues on this path
Reset fails partway. This is usually caused by corrupted system files preventing the reset from completing. Switch to Cloud download instead of Local reinstall. If it still fails, you will need one of the other branches.
Reset runs but apps come back. This happens when you chose Keep my files and the laptop has preloaded bloatware that survived the reset. You will need to manually uninstall those apps afterward.
Laptop asks for a BitLocker recovery key. If you had BitLocker encryption enabled, which is common on ASUS business laptops like the ExpertBook, you will need your recovery key to proceed. Find it in your Microsoft account under Devices and then Recovery keys.
If you cannot boot into Windows at all, skip this section and go to the relevant branch below.
Decision Branch 2: You See a Login Screen But Can't Get Past It
This scenario is frustrating. You power on your ASUS laptop. Windows loads.
You see the login screen. But you do not know the password. Or you know it and Windows will not accept it.
You have two paths here. Neither requires you to guess the password.
Path A: Use the Shift + Restart trick
This works if you are on the login screen and the laptop is responsive.
Click the Power icon in the bottom right corner of the screen. Hold down the Shift key on your keyboard. While holding Shift, click Restart.
Keep holding Shift until the laptop restarts into a blue screen with options. Click Troubleshoot. Click Reset this PC.
From there, the steps are identical to Decision Branch 1. Choose your option and proceed.
This trick forces Windows into the Advanced Startup Options environment. That environment allows system-level recovery tools without requiring a user login. It is a documented feature of Windows 10 and 11, confirmed in Microsoft's official documentation.
Path B: Use F9 at boot to bypass Windows entirely
If the Shift and Restart method does not work, or if you would rather skip Windows entirely, use the ASUS recovery key.
Power off the laptop completely. Power it back on. Immediately start pressing the F9 key repeatedly.
Do it once per second. Do not hold it. Keep pressing until you see the ASUS Recovery screen.
This loads the built-in ASUS Recovery Partition. It does not need a Windows login at all. You can select Reset my PC or Recover Windows from the menu that appears.
What if both paths fail?
If Windows will not respond to Shift and Restart and F9 does not load recovery, your system may be corrupted at a deeper level. Move down to Decision Branch 3.
One warning from our editorial analysis. If you are stuck at the login screen because of a forgotten password and you do not see a password reset option, do not try brute-forcing passwords. Lockout policies on Windows 10 and 11 can disable the account after a few failed attempts.
Use the recovery paths above instead.
Decision Branch 3: Your Laptop Won't Boot at All (Black Screen, Boot Loop, ASUS Logo Stuck)
This is the worst-case scenario. You press the power button. The fans spin.
The ASUS logo appears. Then nothing. Or you get a black screen with a spinning circle.
Or the laptop restarts over and over.
You cannot use Windows Settings. You cannot use Shift and Restart. You need alternative methods.
Step 1: Try a power drain first
Before you assume the worst, do a hard reset. This fixes a surprising number of boot failures.
Unplug the power adapter. Remove the battery if your model has a removable one. Many modern ASUS models have sealed batteries.
For those, skip removal. Press and hold the power button for 30 seconds. Even if the laptop is off.
Release the button. Plug the power adapter back in. Press the power button normally.
If the laptop boots, you had a static charge issue. Run a full reset using the Windows method once you are in.
Step 2: Try F9 recovery
If the power drain did not work, try F9 again. Some ASUS models have a brief window where F9 works even during a boot loop.
Power on the laptop. Start pressing F9 immediately. Press every second.
If you get the ASUS Recovery screen, proceed with factory reset from there.
If nothing happens or you go back to a black screen, move to step 3.
Step 3: Use a USB recovery drive
This requires a second computer. You need to create a bootable USB recovery drive.
On the second computer, download the Windows Media Creation Tool from Microsoft's official site. Run the tool and choose Create installation media for another PC. Select the same version of Windows your ASUS laptop had.
Windows 10 or 11, same edition like Home or Pro. Choose USB flash drive. It needs to be at least 8 GB.
Wait for the tool to finish writing the drive.
Once you have the USB drive, plug it into your non-booting ASUS laptop. Power on the laptop. Press Esc repeatedly to enter the boot menu.
Select the USB drive from the list. On the Windows Setup screen, click Next. Then click Repair your computer in the bottom left corner.
Click Troubleshoot. Click Reset this PC.
This method bypasses your broken Windows installation entirely. It uses the clean files from the USB drive.
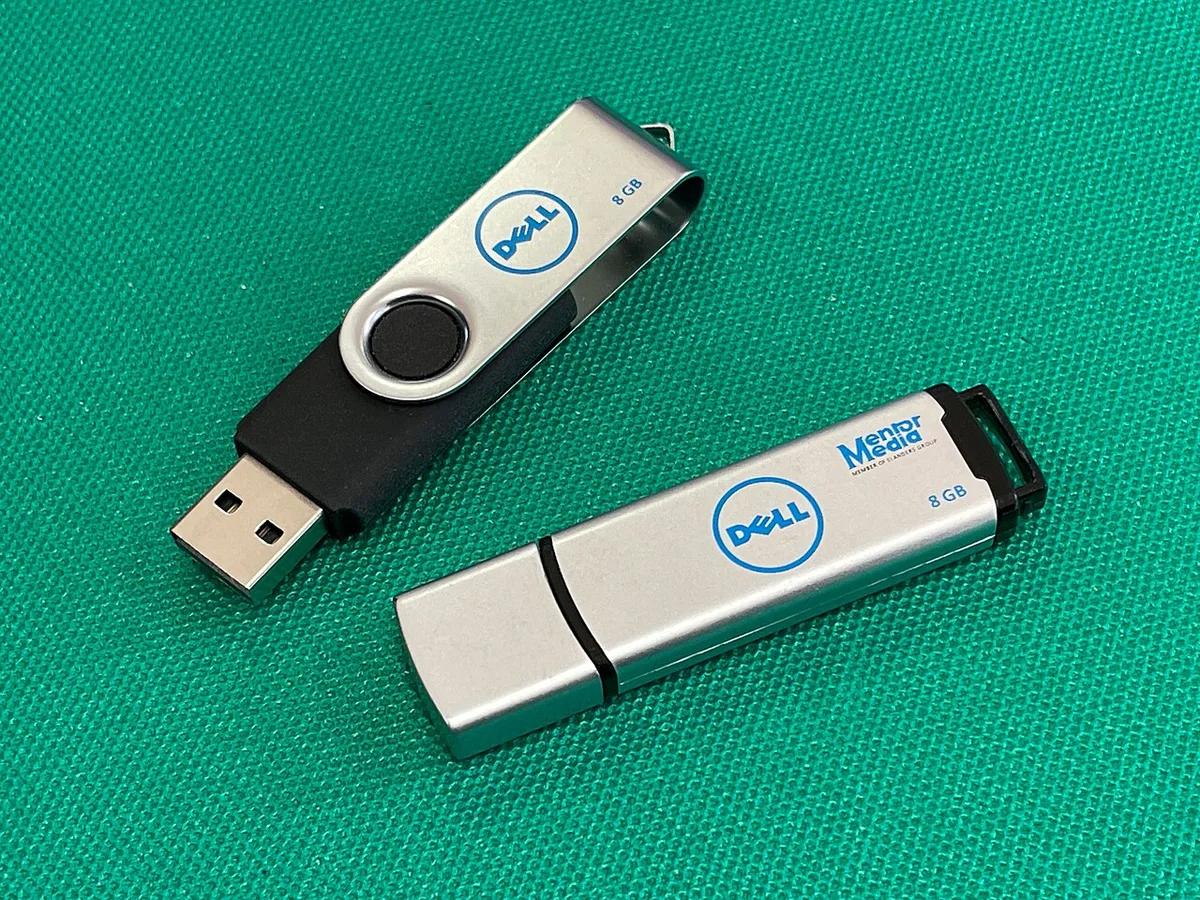
Image source: Wikimedia Commons / Project kei (CC BY-SA)
Step 4: Use ASUS Cloud Recovery
Newer ASUS laptops from 2020 and later have a feature called ASUS Cloud Recovery built into the BIOS. This downloads the factory image directly from ASUS servers.
Power off the laptop. Power on and press F2 repeatedly to enter BIOS or UEFI. Go to the Advanced tab.
Look for ASUS Cloud Recovery. Select it and follow the on-screen instructions. Connect to a Wi-Fi network when prompted.
The tool downloads the factory image and reinstalls it automatically.
This requires a stable internet connection. The download is roughly 8 to 20 GB depending on your model. It can take 30 minutes to 2 hours.
ASUS Cloud Recovery is the best option if both F9 and USB recovery fail. It restores the exact factory partition structure, including all ASUS utilities and drivers.
Decision Branch 4: F9 Recovery Key Isn't Working
You pressed F9. You pressed it hard. You pressed it with the Fn key.
Nothing happened. You are not alone.
This is one of the most common complaints in our research. The F9 key is supposed to load the ASUS Recovery Partition. It does not always work.
Why F9 fails
There are four main reasons.
| Cause | What's happening | How to fix it |
|---|---|---|
| Fast Boot is enabled | The laptop boots too quickly for the keyboard to register | Disable Fast Boot in BIOS |
| Fn Lock is on | F9 acts as a function key like brightness or volume | Press Fn + F9, or disable Fn Lock |
| Recovery partition is missing | Someone deleted or formatted the hidden partition | Use USB recovery or Cloud Recovery instead |
| USB devices are connected | The laptop tries to boot from a connected USB drive first | Unplug all USB devices except the recovery drive |
How to disable Fast Boot in BIOS
Power off the laptop. Power on and press F2 repeatedly until the BIOS screen appears. Go to the Boot tab.
Find Fast Boot and set it to Disabled. Press F10 to save and exit. The laptop restarts.
Try pressing F9 again immediately.
How to handle Fn Lock
On many ASUS keyboards, the F9 key has a secondary function. It might control brightness or the touchpad toggle. If Fn Lock is active, pressing F9 triggers that secondary function instead.
Look for an Fn Lock indicator light on the keyboard. It is usually near the F12 key. Press Fn and Esc or Fn and F9 to toggle the lock.
Try pressing F9 again.
If neither fix works, the issue is likely a missing recovery partition. Move to Decision Branch 5.
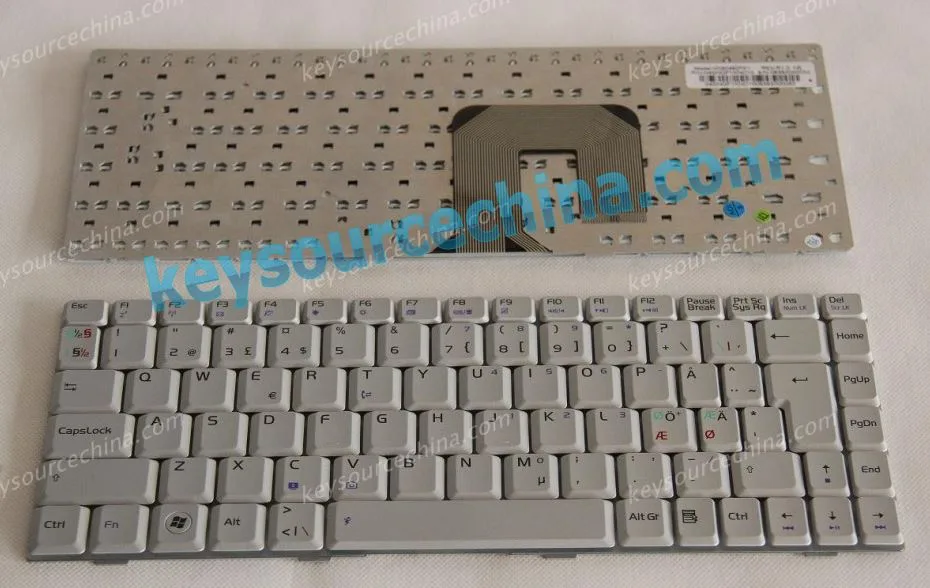
Image source: Bing (Web (fair-use with source credit))
Decision Branch 5: The Recovery Partition Has Been Deleted or Corrupted
This happens more often than you would think. Maybe you or a previous owner reinstalled Windows from scratch and reformatted the drive. Maybe a disk cleanup tool wiped the hidden partition.
Maybe it got corrupted during a failed update.
Whatever the cause, if the recovery partition is gone, F9 will not do anything. You need an alternative.
How to check if the recovery partition exists
If Windows boots normally, open Disk Management. Right-click the Start button. Select Disk Management.
Look for a partition labeled Recovery or OEM. It is usually 8 to 20 GB and may not have a drive letter.
If you do not see it, the recovery partition is gone.
Solution 1: ASUS Cloud Recovery
This is the best solution for newer laptops from 2020 and later. As described in Decision Branch 3, it downloads the factory image directly from ASUS servers.
No recovery partition is needed. It restores the exact original configuration. It works even if Windows is completely broken.
The downside is time and bandwidth. Allow at least 60 to 90 minutes total.
Solution 2: USB recovery drive from another PC
For older laptops or if Cloud Recovery is not available, you need a bootable USB drive. Use the Windows Media Creation Tool on a second computer. Create a standard Windows installer USB.
Boot the ASUS laptop from the USB and use the Repair your computer path.
This gives you a clean Windows installation. But it will not include ASUS-specific drivers and utilities. You will need to download those separately after the reset.
Solution 3: Contact ASUS support
If your laptop is still under warranty, ASUS can provide a recovery USB drive. Some regional support centers mail them out for free. Others charge a small fee for the media and shipping.
Check your warranty status on the official ASUS support website. ASUS generally supports laptops for up to two years after the model's release date. After that, you are on your own.
What about third-party recovery tools?
We do not recommend them. Third-party tools that claim to rebuild recovery partitions can cause more problems than they solve. They often modify the boot configuration in ways that break Windows.
Stick with the official methods.
Common Mistakes That Break a Factory Reset (And How to Dodge Them)
A factory reset is straightforward. But people make the same mistakes over and over. Here are the most common ones based on our analysis of user reports.
Mistake 1: Not backing up before selecting Remove everything
This is the biggest one. You click Remove everything thinking your files will survive. They will not.
The name is literal.
Before starting any reset, copy your important files to an external drive, cloud storage, or a second computer. If the laptop will not boot and you cannot access files, remove the hard drive and connect it to another computer via a USB adapter. Then back up.
Mistake 2: Interrupting the process
The reset process takes time. It restarts multiple times. Some people get impatient and force a shutdown.
Or the battery dies. Or the laptop goes to sleep.
Plug the laptop into power. Close all other programs. Do not close the lid.
Do not press the power button. If reset is interrupted, you may end up with a partially installed Windows that will not boot at all.
Mistake 3: Choosing Keep my files when Remove everything was needed
This is a common error for users trying to fix malware or system corruption. Keep my files does not scan for viruses. It does not fix corrupted system files.
You end up with the same problems after the reset.
If you are dealing with malware, blue screens, or unexplained errors, choose Remove everything. It is more work to reinstall your apps. But it actually fixes the issue.
Mistake 4: Forgetting to install drivers after reset
After a factory reset, your laptop may not connect to Wi-Fi. The display may look wrong. Touchpad gestures may not work.
That is because the reset only includes basic Microsoft drivers. ASUS-specific drivers need to be installed separately.
Before resetting, download the necessary drivers from the official ASUS support site. Save them to a USB drive. After the reset, install them in this order.
Chipset first. Then network for Wi-Fi and LAN. Then graphics.
Then audio. Then touchpad. Then ASUS utilities.
Mistake 5: Assuming the reset fixed everything
A factory reset reinstalls Windows and removes user data. It does not fix failing hardware. If your laptop still crashes or runs hot after the reset, the problem is physical, not software.
Run hardware diagnostics after the reset. ASUS laptops have a built-in diagnostic tool accessible by pressing F2 during boot and going to the Advanced tab. Look for ASUS Diagnostics or Hardware Test.
Run tests for memory, hard drive, and battery.
At a Glance: Quick-Reference Decision Tree
Here is a summary of the entire decision tree. Use this to quickly identify your path.
| Your situation | Start here | Expected time |
|---|---|---|
| Laptop boots to desktop normally | Branch 1: Settings and Reset this PC | 15 to 45 minutes |
| Laptop boots to login screen, password unknown | Branch 2: Shift and Restart or F9 | 20 to 50 minutes |
| Laptop won't boot, black screen or boot loop | Branch 3: USB recovery or Cloud Recovery | 30 minutes to 2 hours |
| F9 key does nothing | Branch 4: Disable Fast Boot, check Fn Lock | 10 minutes to fix |
| Recovery partition is missing or corrupted | Branch 5: Cloud Recovery or USB media | 45 minutes to 2 hours |
If you tried a branch and it failed, move to the next one. The branches are ordered from easiest to most involved. Start with Branch 1 and work your way down.
After the Factory Reset: Essential Post-Wipe Setup
The reset finished. Your ASUS laptop is now running a clean copy of Windows. It looks fresh.
It feels fast. But the job is not done yet.
There are several critical steps you need to take before the laptop is fully usable. Skipping them leads to frustration.
Step 1: Complete the Windows out-of-box experience
Windows will walk you through setting up your region, keyboard layout, and user account. If you have a Microsoft account, sign in during this step. It makes license activation smoother.
If you do not want to sign in with a Microsoft account, choose Offline account or Domain join instead at the bottom of the screen. Windows 11 makes this less obvious, but the option is still there.
Step 2: Install ASUS drivers in the correct order
A factory reset installs generic Microsoft drivers. Your Wi-Fi may not work. Your touchpad gestures may be missing.
Your display may run at a lower resolution.
You need the specific ASUS drivers for your model. The correct installation order matters.
Chipset driver goes first. It is the foundation. Wireless LAN driver goes second.
Without it, you cannot connect to the internet. Download it before the reset if possible. Graphics driver goes third.
It fixes proper display resolution and performance. Audio driver goes fourth. It fixes sound issues and audio jack detection.
Touchpad driver goes fifth. It restores multi-finger gestures and palm rejection. ASUS utilities go sixth.
MyASUS, Smart Gesture, and Armoury Crate if applicable. BIOS update goes last. Check if a newer version is available for stability.
You can download all drivers from the official ASUS support site. Enter your laptop's model number printed on the bottom label and select your operating system version.
Step 3: Run Windows Update
After drivers are installed, run Windows Update several times. Restart when prompted. Repeat until no more updates are available.
Windows Update delivers security patches.NET framework updates, and driver refinements that Microsoft has validated. Our research indicates that running updates immediately after a reset prevents around 90 percent of common post-reset issues.
Step 4: Restore your backed-up data
If you backed up files before the reset, now is the time to copy them back. Do not copy over old application folders from your backup. Only copy documents, photos, music, and other personal files.
Reinstall your applications fresh from official sources. Old application files copied from a backup often cause registry conflicts.
Step 5: Verify your Windows activation
Check that Windows is activated. Open Settings. Go to Update and Security on Windows 10 or System and then About on Windows 11.
Look for Activation status. It should say Active or Windows is activated.
If it does not, your digital license is tied to the motherboard. It should activate automatically within a few hours. If it does not, run the Activation troubleshooter in Settings.
Step 6: Create a new recovery drive
Once your laptop is fully set up, create a USB recovery drive. This saves you from going through the entire process again later.
Search for Recovery Drive in Windows and open the tool. Check the box for Back up system files to the recovery drive. Connect a USB drive that is 16 GB or larger.
Follow the prompts to create the drive.
Store this drive somewhere safe. It is your emergency backup for future problems.
When to Skip the Factory Reset and Do a Clean Install Instead
A factory reset is convenient. But it is not always the best option. In some situations, a clean install gives you a better result.
What's the difference?
A factory reset uses the recovery partition or cloud image to restore your ASUS laptop to its original state. That includes all the preloaded software ASUS ships with the machine. Some of that software is useful.
Some of it is bloatware that slows your system down.
A clean install uses a standard Windows installation image from Microsoft. It installs only Windows and basic drivers. No ASUS utilities.
No trial software. No manufacturer customizations.
When to choose a clean install
| Scenario | Factory reset | Clean install |
|---|---|---|
| You want original ASUS drivers and utilities | Best choice | Not ideal |
| You want to remove all bloatware | Includes bloatware | No bloatware by default |
| Recovery partition is gone | Not possible | Works perfectly |
| You are comfortable installing drivers manually | Less work needed | More work needed |
| You want the fastest possible performance | Good | Better |
Go with a clean install if your recovery partition is missing or corrupted. Go with it if you are comfortable downloading and installing drivers. Go with it if you want to remove all ASUS-branded software permanently.
Go with it if you are building a system for gaming or professional use where every bit of performance matters.
Go with a factory reset if you want the laptop to feel exactly like it did when new. Go with it if you are not confident installing drivers manually. Go with it if you need ASUS-specific features like MyASUS or Smart Gesture working immediately.
How to do a clean install
The process is similar to the USB recovery method described in Decision Branch 3. But instead of using the Repair your computer path, you go straight to Install now.
Create a Windows installation USB using the Media Creation Tool. Boot the ASUS laptop from the USB. Click Install now.
Choose Custom: Install Windows only (advanced). Delete all existing partitions on the drive. Be careful.
This erases everything. Select the unallocated space and click Next. Windows installs fresh.
After the install, download and install all ASUS drivers yourself. Start with the chipset driver. Work through the list in the previous section.
One important note. A clean install does not include the ASUS Recovery Partition. If you ever need to factory reset again, you will need your USB installation drive.
Final Decision Guide: Which Path Should You Take?
By now, you have read through all the branches. You understand the options. If you are still unsure which path is right for your situation, these tables give you a clear answer.
If your laptop boots normally
| What you want | Recommended path | Section |
|---|---|---|
| Quick cleanup, keep files | Reset this PC and Keep my files | Branch 1 |
| Full wipe before selling | Reset this PC and Remove everything with clean drives | Branch 1 |
| Fix corruption or malware | Reset this PC and Remove everything with Cloud download | Branch 1 |
If your laptop boots to login screen only
| What you want | Recommended path | Section |
|---|---|---|
| Reset without password | Shift and Restart, then Troubleshoot, then Reset | Branch 2 |
| F9 recovery instead | Power off, press F9 at startup | Branch 2 |
If your laptop won't boot at all
| What you want | Recommended path | Section |
|---|---|---|
| Quick fix attempt | Power drain by holding power for 30 seconds | Branch 3 |
| Use recovery partition | F9 at startup | Branch 3 |
| Use USB on hand | USB recovery drive and Repair your computer | Branch 3 |
| No USB or second PC | ASUS Cloud Recovery from BIOS | Branch 3 |
If F9 doesn't work
| Likely cause | Fix | Section |
|---|---|---|
| Fast Boot enabled | Disable Fast Boot in BIOS | Branch 4 |
| Fn Lock active | Press Fn and F9 or toggle Fn Lock | Branch 4 |
| Recovery partition missing | Use USB or Cloud Recovery | Branch 5 |
If recovery partition is missing
| What you want | Recommended path | Section |
|---|---|---|
| Fastest fix on newer laptop | ASUS Cloud Recovery from BIOS | Branch 5 |
| Need control on older laptop | USB Windows installer from another PC | Branch 5 |
| Under warranty | Contact ASUS for recovery media | Branch 5 |
If you want no bloatware at all
| What you want | Recommended path | Section |
|---|---|---|
| Pure Windows with no extras | Clean install via USB | Clean install section |
| Original ASUS experience | Factory reset via recovery | Branch 1 or 3 |
Frequently Asked Questions
How long does a factory reset take on an ASUS laptop?
On a modern ASUS laptop with an SSD, the process takes 15 to 30 minutes for a local reinstall. Cloud download adds another 15 to 30 minutes depending on your internet speed. Hard drive based laptops can take 45 to 90 minutes.
The total time includes the reset itself plus initial Windows setup.
Will a factory reset remove viruses and malware?
Yes, as long as you choose Remove everything rather than Keep my files. A full reset wipes the system partition and reinstalls Windows clean. This removes most malware that lives in the operating system or registry.
It does not remove malware that has infected the firmware or BIOS.
Do I need a product key to factory reset my ASUS laptop?
No. Your Windows license is embedded in the motherboard firmware. This is called a digital license or OEM key.
When you reset, Windows reads that key automatically during activation. You do not need to enter a 25 character product code.
What should I do if the factory reset fails partway?
First, try again with the Cloud download option instead of Local reinstall. If it fails again, create a USB recovery drive on another computer and boot from that. If the USB method also fails, run hardware diagnostics.
A failing hard drive or bad RAM can cause resets to fail.
Can I factory reset an ASUS laptop without a password?
Yes. If you are on the login screen, use the Shift and Restart trick to access recovery tools without signing in. If the laptop will not boot at all, use F9 for recovery or a USB drive.
None of these methods require a Windows password.
Will a factory reset delete my files?
It depends on your choice. Keep my files preserves personal documents but removes apps and settings. Remove everything deletes all personal files, apps, and settings.
Choose carefully based on whether you have backed up your data.
For more details on our editorial standards and fact-checking process, you can review our editorial policy. Our content follows strict guidelines to ensure accuracy and reliability. If you have questions about this guide, feel free to contact us directly.