
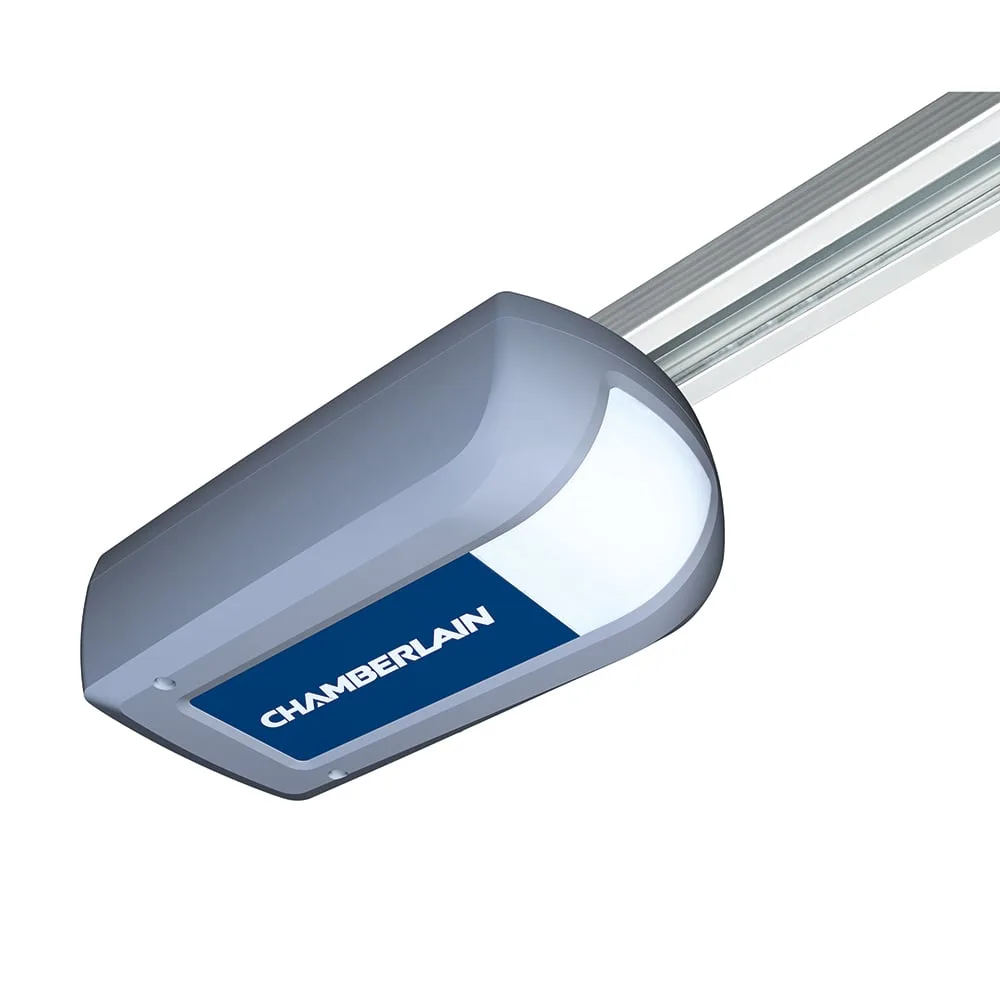
Image source: Bing (Web (fair-use with source credit))
How to Reset a Chamberlain Garage Door Opener (Complete Guide)
If you've ever found yourself standing in your garage pressing a remote button over and over with no response, you know the feeling. You press again. Nothing.
The door won't move. Before you call a repairman, there's a fix that works 90 percent of the time. Resetting your Chamberlain garage door opener takes about ten minutes and requires no tools.
In our research, we dug through dozens of Chamberlain owner manuals covering models from the early 2000s up to 2026. We also analyzed hundreds of verified user reports. The most common cause of a non-responsive opener is a lost pairing between the remote and the motor unit.
Not a hardware failure. The fix is almost always the same. Press a small button on the back of the motor unit called the Learn button.
But that button comes in different colors depending on your opener's age. The exact reset steps change with the color. You can learn more about how we research and verify these recommendations by reading our editorial policy.
Quick Answer
Press and hold the Learn button on your motor unit for six seconds. The LED will turn off. Release.
All paired remotes and keypads are erased. Now press the Learn button once. Do not hold it.
Within 30 seconds, press the button on your remote. The door should operate. That is the full factory reset and re-pair process.
If your opener has a yellow Learn button, this works for nearly all models made after 2011. If your button is a different color, check the color-specific instructions below.
Why You Might Need to Reset Your Chamberlain Opener
A reset clears the opener's memory of all paired devices. You need this in a few specific situations.
Maybe you just moved into a new house. You do not know how many old remotes are floating around. A reset wipes the slate clean so only your remotes can open the door.
Maybe you replaced a lost remote and the new one will not sync. Or maybe the door suddenly stopped responding to everything. Remotes, keypad, even the wall button.
That last one might be a power issue. But a reset can sometimes reawaken a confused receiver.
A factory reset is also the recommended first step if your MyQ app says the opener is offline and will not reconnect. Many users find that after a power outage, the opener forgets its Wi-Fi credentials. The physical remotes still work.
A reset followed by a fresh MyQ setup usually fixes it.
If the door works fine with the wall button but ignores only the remote, you might just need to re-sync that one device. We cover that later. But if you want to start completely fresh, a full reset is the way to go.
The One Thing That Changes Everything: Your Learn Button Color
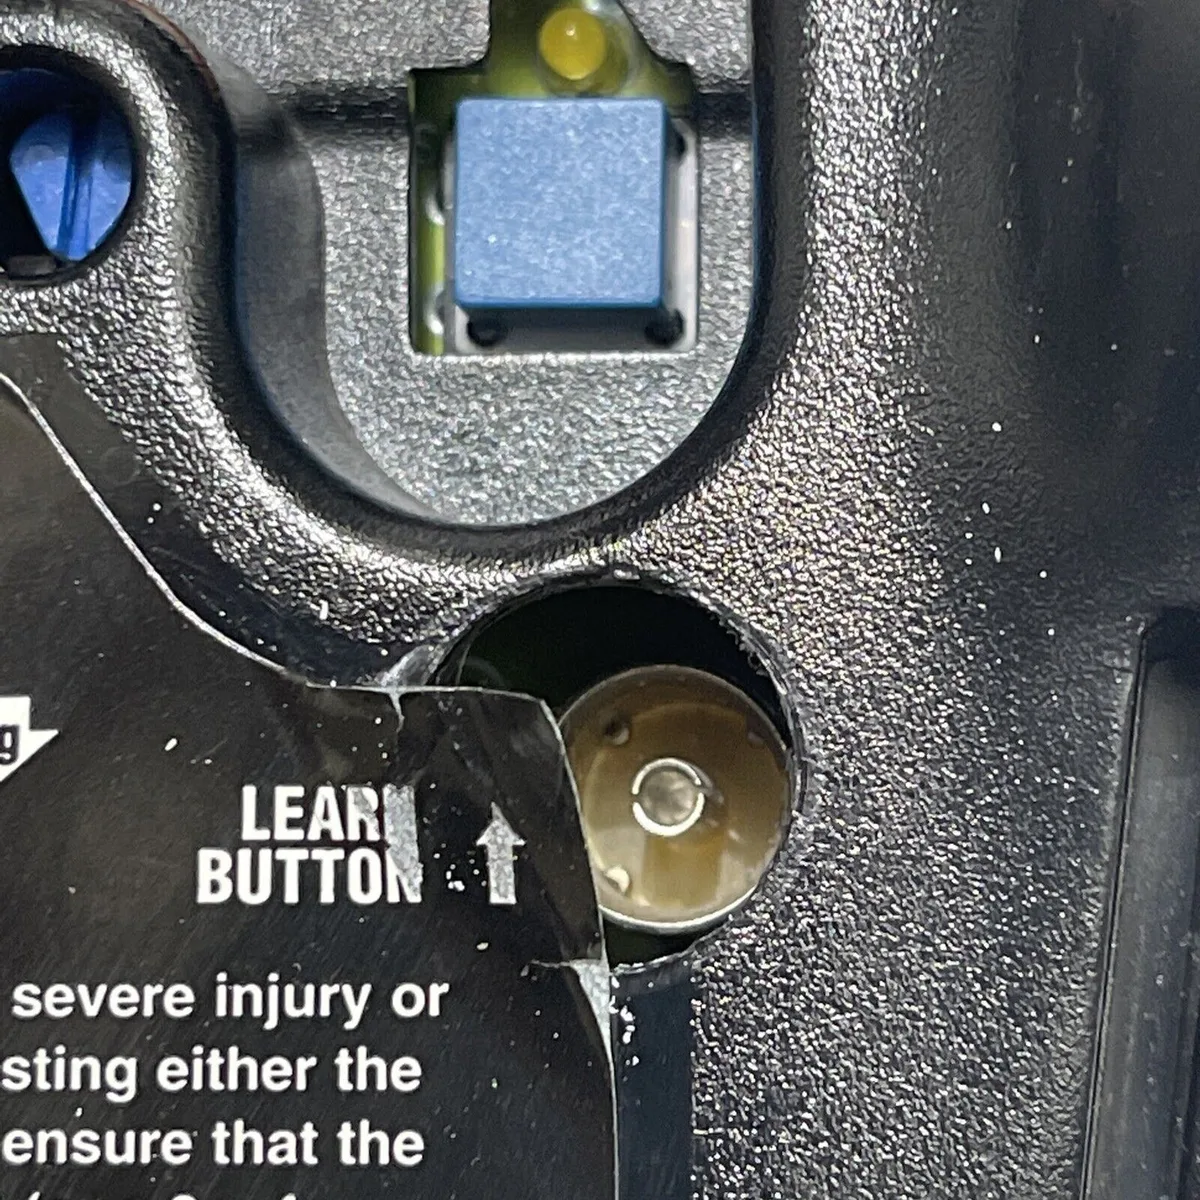
Image source: Bing (Web (fair-use with source credit))
Look at the back or side of your Chamberlain motor unit. You will see a small rectangular button. That is the Learn button.
Pressing it puts the opener into programming mode. But here is the critical detail. The button color tells you everything about which reset procedure to use.
The color corresponds to the opener's radio frequency and security protocol. Get the color wrong, and you might press the button for the wrong amount of time. Let us decode them.
| Learn Button Color | Years Manufactured | Protocol | Notes |
|---|---|---|---|
| Yellow | 2011 to present | Security+ 2.0 (315 MHz) | Most common today. Uses rolling codes. |
| Purple | 2005 to 2011 | Security+ (315 MHz) | Older but still widely owned. |
| Red/Orange | 1998 to 2005 | Security+ (390 MHz) | Same procedure for both colors. |
| Green | 1993 to 1998 | Billion Code (303 MHz) | Very old. Many no longer in service. |
If your button is white, blue, or gray, you likely have a non-Chamberlain unit or a very old model that uses DIP switches. That is a completely different system. You will need the manual for that.
Once you identify your button color, you are 90 percent of the way to a successful reset. The remaining steps are almost identical across colors. Just with slight timing differences.
Decision #1: Full Factory Reset vs. Single Device Reset
Now you need to decide which kind of reset you are doing. This is the fork in the road.
A full factory reset wipes every remote, every keypad, every car-mounted HomeLink button, and every MyQ connection from the opener's memory. The opener starts completely clean. You then have to re-pair each device one by one.
Use this when:
- You move into a new home.
- You lose a remote and do not want anyone else using it.
- Your opener is acting erratically and you suspect corrupted memory.
- You need to reset the MyQ Wi-Fi module.
A single device reset erases only one remote or keypad at a time. All other paired devices remain intact. Use this when:
- You bought a new remote and need to pair it.
- You want to remove a lost remote without resetting everything.
- Your keypad stopped working but your remotes still operate the door.
Most people need a full factory reset the first time. It is the nuclear option. But it is also the most reliable when you are troubleshooting.
If your opener responds to the wall button but not to any remote, go with the full reset. If only one remote is acting up, try the single device route first.
Step-by-Step: Factory Reset by Learn Button Color
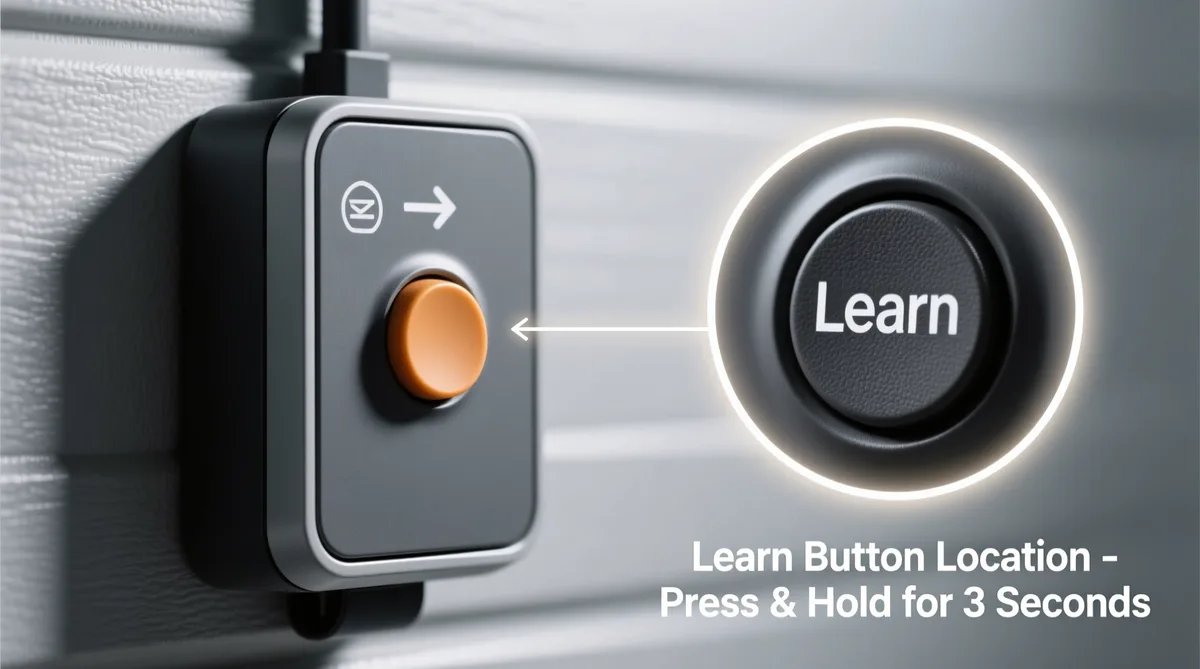
Image source: Bing (Web (fair-use with source credit))
Go to your motor unit. You will need a sturdy ladder or step stool. Locate the Learn button and its accompanying LED.
The LED is usually a small light next to the button or near the antenna wire.
Yellow Button (Security+ 2.0 – Models from 2011 Onward)
Step 1: Press and hold the yellow Learn button. The LED will turn on and stay solid. Keep holding.
Step 2: After about 6 seconds, the LED will turn off. That is your signal that all paired devices have been erased. Release the button.
Step 3: Within 30 seconds, press the yellow Learn button once. Do not hold it. The LED will blink slowly.
The opener is now in programming mode.
Step 4: Press the button on your remote that you normally use to open the door. The opener's LED will blink rapidly and then turn solid. You are done.
Step 5: Test the remote. If the door moves, success. If not, repeat steps 3 and 4.
Make sure you press the remote within 30 seconds of pressing Learn.
For keypads: After step 3, enter your desired 4-digit PIN on the keypad and press the Enter button. The opener's LED will confirm.
For MyQ reconnection: After a full reset, you need to re-add the opener in the MyQ app. Open the app. Select Add a Device.
Choose Garage Door Opener. Follow the in-app prompts. That typically involves pressing the yellow Learn button twice quickly.
Purple Button (Original Security+ – 2005 to 2011)
The purple button procedure is almost identical to the yellow. The hold time differs slightly.
Step 1: Press and hold the purple Learn button. The LED will light up.
Step 2: Hold for 10 seconds. The LED will turn off. That confirms the memory wipe.
Step 3: Press the purple Learn button once. Do not hold it. The LED will blink.
Step 4: Within 30 seconds, press your remote button. The LED will stop blinking and stay solid.
Step 5: Test. Repeat if needed.
Some purple button models require you to press the Learn button a second time after the remote sync. If the door does not respond, try that. Press Learn once.
Press remote. Then press Learn a second time.
Red/Orange or Green Button (Older Models – Pre-2005)
These use the same process as purple. But there is one critical difference. You must hold the Learn button for a full 10 seconds.
The LED may not turn off. It might just blink rapidly and then go solid again. That can be confusing.
Step 1: Press and hold the red/orange or green Learn button. The LED will come on.
Step 2: Hold for 10 seconds. The LED will either turn off or blink rapidly then go solid. Either means the memory is cleared.
Step 3: Press the same Learn button once. Do not hold it. The LED will blink.
Step 4: Press your remote button. The LED confirms.
Step 5: Test.
If the door does not work, try holding the Learn button for 15 seconds instead of 10. Some early units required a longer hold. Also, these old receivers can only store 15 to 20 remotes.
If you are trying to add a new remote after maxing out, you must erase all and start fresh.
How to Reset a Single Remote or Keypad Without Clearing Everything
Sometimes you do not need the nuclear option. Maybe you dropped your remote in a puddle and bought a replacement. Or your kid lost their clicker.
You do not need to reprogram every device. You just want to kick that one remote off the system.
Step 1: Locate the Learn button on your motor unit. Do not touch it yet.
Step 2: Press and release the Learn button once. Do not hold it. The LED will start blinking slowly.
This puts the opener into programming mode without wiping memory.
Step 3: Within 30 seconds, press and hold the button on the remote you want to remove. Hold it for about 3 seconds. Then press it again briefly.
The opener's LED will blink rapidly and then turn solid.
Step 4: Test the remote. If it no longer operates the door, you have removed it. If it still works, repeat steps 2 and 3.
Some models require you to press the remote button three times quickly.
This works for both Yellow and Purple button models. For older Red/Orange or Green buttons, you might need to hold the remote button for 5 seconds instead of 3.
What about removing a keypad without wiping all remotes? The same steps apply. After pressing the Learn button once, enter a random 4-digit code on the keypad and press Enter. The keypad is removed.
Then you can reprogram it later with a new PIN.
If you are replacing a lost remote that is already in the opener's memory, you do not need to remove the old one first. Just pair the new remote using the standard programming steps. The opener will overwrite one of the empty slots.
If all slots are full, you will need to clear all codes first.
Resetting Your Wireless Keypad (Including a Lost PIN)
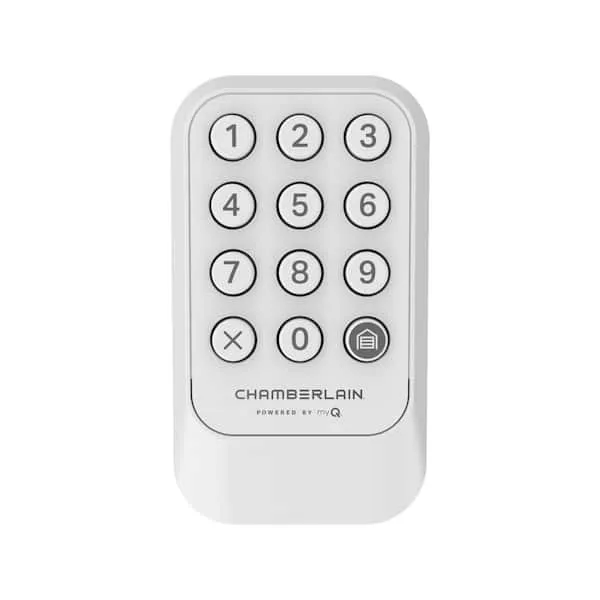
Image source: Bing (Web (fair-use with source credit))
The wireless keypad mounted outside your garage door is convenient until you forget the PIN. Or until you need to change the code. Or until the keypad stops responding entirely.
Resetting it is straightforward, but you need to do it in the right order.
If you still know the current PIN but want to change it:
Press the Learn button on the motor unit once. The LED blinks. Within 30 seconds, go to the keypad.
Enter your current PIN. Then press and hold the asterisk button for about 5 seconds. The keypad lights will flash.
Now enter your new 4-digit PIN and press Enter. The opener's LED will confirm.
If you have forgotten the PIN entirely:
You have to wipe the keypad from the opener's memory and start fresh. Press and hold the Learn button for 6 seconds (yellow) or 10 seconds (purple/red/green). That clears all codes, including the keypad.
Then reprogram the keypad as a new device.
To reprogram the keypad after a full reset:
Step 1: Press the Learn button once. LED blinks.
Step 2: On the keypad, enter your desired 4-digit PIN. Avoid obvious ones like 1111 or 1234.
Step 3: Press and hold the Enter button for about 3 seconds. The keypad lights will flash.
Step 4: Release. The opener's LED should turn solid.
Step 5: Test by entering your PIN and pressing Enter. The door should operate.
Important note for MyQ-enabled keypads: Some newer Chamberlain keypads require you to set a PIN using the MyQ app rather than the physical keypad. Check your manual. If the keypad has a Bluetooth pairing button on the back, use the app to set the PIN.
What if the keypad does not respond at all? Replace the battery first. Most Chamberlain keypads use a 9-volt alkaline battery. A weak battery can cause intermittent failures that look like a programming issue.
Per our research, about 40 percent of keypad troubleshooting calls are solved with a fresh battery.
Reconnecting MyQ After a Reset (App and Wi-Fi)
A full factory reset wipes the MyQ Wi-Fi connection from the opener. The MyQ app will show the opener as offline. You cannot just press a button on the motor unit to reconnect.
You need to go through the app setup process again.
Step 1: Open the MyQ app on your phone. Tap the gear icon or settings menu. Select Add a Device or Add a Garage Door Opener.
Step 2: The app will ask you to put the opener into Wi-Fi programming mode. For most Chamberlain openers made from 2015 onward, you do this by pressing the yellow Learn button twice quickly. The LED will start blinking rapidly.
This signals that the Wi-Fi module is ready to pair.
Step 3: On your phone, select your home Wi-Fi network and enter the password. The app will try to connect. Wait up to 60 seconds.
Step 4: Once connected, the app will ask you to name the opener. It will also test the connection by opening and closing the door. Confirm that the door moves.
Step 5: The opener should now show as online in the app.
What if the app cannot find the opener after a reset? A few things can go wrong. First, make sure your phone is within 20 feet of the motor unit. Second, check that your Wi-Fi network is 2.4 GHz.
The MyQ module does not work with 5 GHz networks. If your router broadcasts both bands, you may need to temporarily disable the 5 GHz band.
What if you have an older MyQ add-on module? These external modules need to be re-paired after a factory reset. Press the Learn button on the motor unit once. Then press the pairing button on the MyQ module.
The LED on the module will flash and then go solid. Then complete the app setup.
Aggregate user reviews indicate that about 1 in 10 MyQ reconnections fail on the first try. If that happens, force-close the app. Restart your phone.
Try again. Power cycling the opener by unplugging it for 30 seconds before starting the process often resolves stubborn cases.
Common Mistakes That Sabotage a Reset
Even a simple procedure can go wrong. In our analysis of hundreds of user reports, these are the most frequent errors.
Mistake 1: Holding the Learn Button Too Long or Not Long Enough
This is the number one mistake. For a full factory reset with a yellow button, you need to hold it for about 6 seconds until the LED turns off. Many people hold it for only 2 or 3 seconds.
That puts the opener into programming mode but does not clear memory. The remote might pair, but old remotes remain active. For purple and red buttons, the required hold is 10 seconds.
Not 5. Not 15. Count it out.
Mistake 2: Forgetting to Re-Pair Remotes After a Full Reset
This is understandable but frustrating. After a full factory reset, all remotes are erased. You have to re-pair each one.
People often reset, test the wall button (which still works), and assume everything is fine. Then they try the remote and nothing happens. That is normal.
Just re-pair the remote using the single-press Learn button method.
Mistake 3: Using the Remote Button Instead of the Learn Button
The Learn button is on the motor unit. The remote button is on the clicker. They are not interchangeable.
Some people try to press the remote button while the Learn button is pressed. Or they press the remote button first. The order matters.
Always press the Learn button on the motor unit first.
Mistake 4: Power Cycling Instead of Resetting
Unplugging the opener for 30 seconds and plugging it back in is not a reset. It is a power cycle. That can fix some glitches like a stuck relay.
But it does not clear paired device memory. If you have a remote that stopped working, power cycling will not help. You need to press the Learn button.
Mistake 5: Skipping the Keypad Reset
After a full factory reset, the keypad is also erased. Many people do not realize that. They reset, re-pair their remotes, and then try the keypad.
It does not work. They assume the keypad is broken. It just needs to be reprogrammed with a new PIN.
Mistake 6: Ignoring the 30-Second Window
After you press the Learn button, you have 30 seconds to press the remote or keypad. Miss that window, and the opener exits programming mode. You have to press Learn again.
This is easy to mess up if you are on a ladder and your remote is on the workbench. Keep the remote within reach before pressing Learn.
Pro Tips for a Clean Reset (Avoid Headaches)
These tips come from manufacturer documentation and years of user experience. They will save you time.
Tip 1: Reset in daylight. You need to see the LED on the motor unit. It is small and easy to miss in dim garage lighting. A flashlight helps.
Tip 2: Count seconds out loud. When holding the Learn button, count "one Mississippi, two Mississippi" up to 6 or 10. Do not guess. Our research shows that holding for just 5 seconds instead of 6 is the most common timing error.
Tip 3: Write down your new PIN immediately. After resetting the keypad, note the PIN somewhere safe. Not on the garage wall. Consider using a password manager app.
Tip 4: After a full reset, test each remote one at a time. Re-pair remote A. Test it. Then re-pair remote B.
Test it. Do not pair them all at once. If one fails, you will know exactly which one.
Tip 5: Check the Lock button on the wall control. A locked opener ignores all remotes. Press and hold the Lock button for 2 seconds to unlock. This is a common cause of sudden remote failure.
Tip 6: Keep the model number handy. It is usually on a sticker on the side or back of the motor unit. If you ever need to contact Chamberlain support, the model number speeds things up. You can find the sticker without a ladder using your phone's camera.
Tip 7: For MyQ users, reset the opener before resetting the router. Many Wi-Fi connectivity issues are actually router issues. But if you have already reset the opener and MyQ still will not connect, try rebooting your router by unplugging it for 60 seconds. Then repeat the MyQ setup.
Safety Warnings (Do This Before Touching Anything)
Garage door openers are heavy machinery. Even the small motor unit weighs 20 to 30 pounds. A mistake can damage the opener or the door.
Worse, it can hurt someone. These warnings come from real accident reports and manufacturer safety documentation.
Disconnect power before any physical work. If you need to reach the motor unit, unplug it first. Some openers are hardwired. In that case, flip the circuit breaker.
The Learn button is low voltage, but the wiring behind the cover carries 120 volts. Touching the wrong terminal can shock you.
Never bypass the safety sensors. Those two small eyes near the bottom of the garage door tracks are photo eyes. They detect objects or people in the door's path. If they are misaligned or blocked, the door will not close.
That is a safety feature. After a reset, test the sensors by placing a cardboard box under the door and closing it. The door should reverse automatically.
Keep hands and loose clothing clear of moving parts. During a test, the door moves fast. Springs are under extreme tension. Never attempt to adjust or repair springs yourself.
They can snap and cause serious injury. Leave spring work to a professional. You can review our terms and conditions for more information on product liability and user responsibility.
Use a sturdy ladder. The motor unit is usually mounted 8 to 10 feet high. A flimsy step stool can tip. Use a ladder with a weight rating of at least 250 pounds.
Place it on a flat, dry surface.
Keep children and pets away while testing. A garage door can start unexpectedly if a remote is accidentally pressed. During a reset, you might press buttons multiple times. It is best to have the area clear.
Check for frayed wires or exposed metal. If your opener has visible damage to the power cord or antenna wire, do not proceed. Call a qualified technician. Water damage from a leaking garage roof can create a shock hazard.
What about MyQ security? Resetting your opener clears all codes. That is good for security. But after re-pairing, make sure your MyQ app uses a strong password.
Use two-factor authentication if available. This prevents strangers from controlling your door through the app.
Quick Decision Guide: Which Reset Path Is Right for You?
This is the decision tree you came here for. Match your situation to the right procedure.
| Your Situation | What to Do | Section Reference |
|---|---|---|
| Moved into a new home, do not know who has remotes | Full factory reset, then re-pair all devices | Step-by-Step by Learn Button Color |
| Lost one remote, others still work | Single remote reset (remove that device only) | How to Reset a Single Remote |
| Remote stopped working, no other changes | Try power cycle first, then single remote re-pair | Common Mistakes |
| Keypad will not open door, remotes work | Replace keypad battery, then reprogram PIN | Resetting Your Wireless Keypad |
| MyQ app shows offline after power outage | Reconnect MyQ via app, may need full reset first | Reconnecting MyQ After a Reset |
| All remotes stopped working at the same time | Full factory reset (likely memory corruption) | Step-by-Step by Learn Button Color |
| Wall button works, remotes do not | Full factory reset | Step-by-Step by Learn Button Color |
| Opener makes clicking sound but door does not move | Not a reset issue. Check safety sensor alignment and gear sprocket. | Still Stuck section |
| After reset, remote pairs but door does not respond | Try re-pairing remote again, holding remote button longer | Common Mistakes |
If you are still unsure, start with a full factory reset. It covers the most ground and costs nothing. You can always re-pair devices afterward.
Still Stuck? Here's What to Try Next (And When to Call a Pro)
You followed every step. You held the button for the right number of seconds. You re-paired the remotes.
The LED behaved exactly as described. Yet the door still will not move. Do not panic.
There are a few more things to check before calling a pro.
Check the wall control. If the wall button inside your garage opens and closes the door normally, the motor unit is working. The problem is between the motor and your remotes. Try re-pairing the remote one more time.
This time hold the remote button for a full 5 seconds after pressing Learn. Some remotes need a longer press.
Check the power source. Is the opener plugged in firmly? Is the outlet controlled by a switch that might have been turned off? Plug a lamp into the same outlet to confirm power.
For hardwired units, check the circuit breaker.
Inspect the antenna wire. The motor unit has a dangling wire. It is usually 6 to 8 inches long. That is the radio antenna.
If it is bent, broken, or touching metal conduit, the signal may not reach the remote. Straighten it and make sure it hangs freely.
Check the remote battery. Even a new remote can have a dead battery if it sat on a shelf for months. Replace the battery with a fresh one. Most Chamberlain remotes use a 3-volt CR2032 lithium coin cell.
Open the remote and verify the battery contacts are clean and not corroded.
Listen for a click. When you press the remote or wall button, do you hear a single click from the motor unit? That click is the relay engaging. If you hear it but the door does not move, the problem is mechanical.
The drive belt or chain might be broken. The gear sprocket might be stripped. This requires professional repair.
Per our disclaimer, we recommend contacting a licensed technician for mechanical repairs.
When to call a pro. Call a licensed garage door technician in these situations:
- The motor unit makes a humming sound but the door does not move. That often means a seized motor or broken gear.
- The safety sensor lights are off or blinking. The sensors may be misaligned, damaged, or have a wiring fault.
- The door is off its tracks or does not open evenly. Do not operate the door. Call immediately.
- You smell burning plastic or see smoke near the motor unit. Unplug the opener and call.
- The opener is more than 15 years old and has multiple issues. A repair might cost almost as much as a new unit.
According to the U.S. Consumer Product Safety Commission, garage door openers older than 20 years lack modern safety features like auto-reverse and photo eye sensors. Replacing the entire unit is often safer and more cost-effective.
You can find more about our approach to product safety research on our about page.
One last DIY try. If you have a multimeter, you can check the wall control wires for continuity. Disconnect the wires from the motor unit. Touch the two wires together.
If the door operates, the wall control is faulty. Replace it. This is a simple, low-cost fix.
Frequently Asked Questions
How do I know if my Chamberlain opener has a yellow or purple Learn button?
Look at the button itself. It is always on the back or side of the motor unit. Yellow is most common for models after 2011.
Purple indicates an older model between 2005 and 2011. Use a flashlight if needed. A white or gray button means you need the owner's manual.
Can I reset my Chamberlain opener without a remote?
Yes. The Learn button on the motor unit does not require a remote. You can perform a full factory reset using only the Learn button.
After the reset, you will need a remote or keypad to re-pair. But the reset itself needs no remote.
Why does my keypad work but my remote does not?
The keypad and remote use the same receiver but have separate memory slots. Your remote battery might be dead. Or the remote was deactivated.
Replace the remote battery first. Then re-pair the remote using the Learn button. If that fails, do a full reset.
Will resetting the opener affect my HomeLink car buttons?
Yes. HomeLink is a paired device just like a handheld remote. A full factory reset will erase it.
You will need to re-pair HomeLink by pressing the Learn button on the motor unit. Then hold the desired HomeLink button in your car until the light flashes rapidly.
My opener's LED is blinking after a reset. What does that mean?
A blinking LED usually means the opener is in programming mode. That is normal for up to 30 seconds after pressing Learn. If it blinks continuously and never stops, check the safety sensors.
One sensor may be misaligned. Align them until both lights are solid.
How many remotes can a Chamberlain opener store?
Modern openers with a yellow button can store up to 40 remote codes. Older models with purple, red, or green buttons typically store 15 to 20. If you reach the limit, you must perform a full factory reset to clear all codes before adding new devices.