
Your Genie opener stopped responding, and you're not sure if you need to reset it, reprogram the remote, or call a repairman. If you've been searching for how to reset genie garage door opener, the answer depends on exactly what's broken and which model you own. There isn't one universal button sequence that works for every Genie opener.
That's where most homeowners get stuck.
Manufacturer documentation shows that Genie has used three different security systems over the past 20 years. Each one has its own reset method. As of 2026, the two most common are Intellicode 1 and Intellicode 2.
Older units with physical dip switches still exist in millions of homes. Getting the model number and generation right is the only way to avoid wasting time on the wrong procedure.
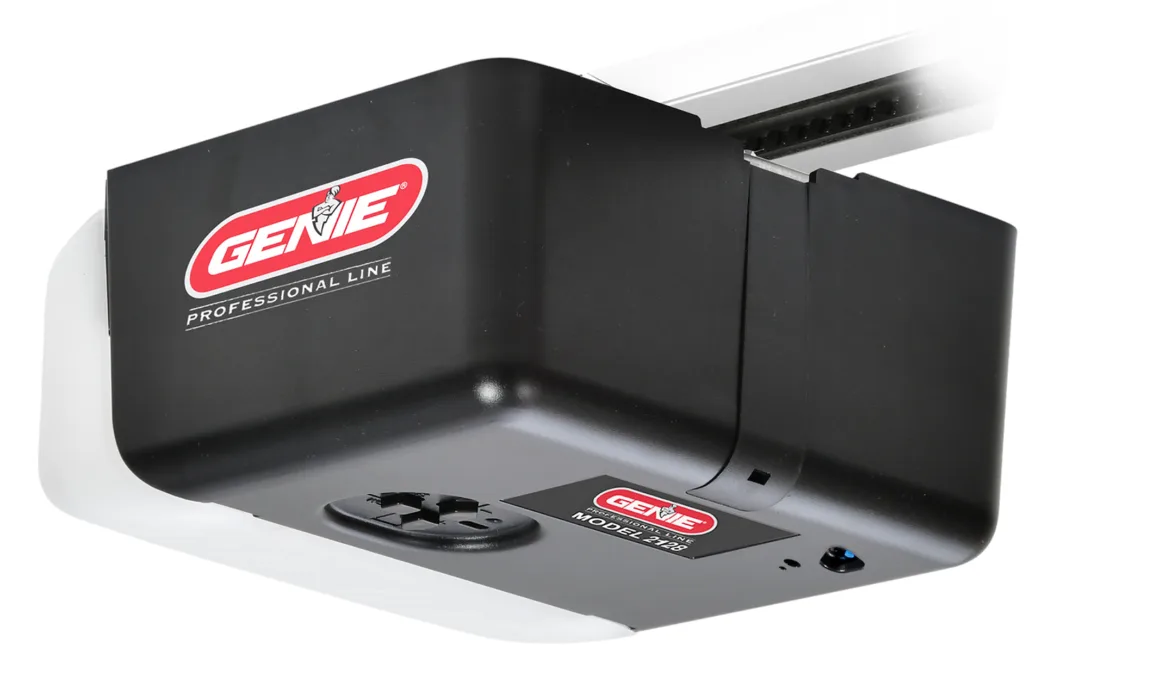
Image source: Bing (Web (fair-use with source credit))
Quick Answer
Press and hold the oval purple "Learn Code" button on the back of the opener for 10 seconds until the LED turns off. This clears all remotes and keypads. Then press the learn button again and release.
Within 30 seconds, press the remote button. Test the door. That's the most common reset for modern Genie openers.
How It Works – Understanding Your Opener's Memory and Why There Isn't One Universal Reset
Genie openers store every remote and keypad code inside a small memory chip on the logic board. When you press the learn button, the opener enters programming mode. It waits for a signal from a remote or keypad.
Each device sends a unique rolling code. The opener memorizes it and validates that code every time you press the button.
But Genie changed how that memory works three times. Older models (pre-2005) used physical dip switches inside both the opener and the remote. You set them to match.
To reset those, you physically changed the switch positions. No learn button existed.
Then came Intellicode 1. This uses a "learn" button that you press once to accept a new remote. A full reset means holding that button for 7 to 10 seconds to wipe all codes.
Intellicode 2 (found on newer belt-drive and Wi‑Fi models) uses the same learn button but requires a different sequence for the keypad. Some models also have a separate "SET" button underneath a small plastic cover.
This is why searching "how to reset genie garage door opener" can produce three different answers. You need to know which generation you own. The next two sections will help you figure that out in under two minutes.
Step 1 – Find Your Model Number and Learn Button Location (Includes Where It Hides on Older Units)
Before you press any button, locate the model number. It's your cheat code for finding the exact manual if you ever get stuck. The model number is on a white or silver sticker on the back of the motor unit, near the power cord connection.
On some older units, it's under the light lens cover. You'll need to unsnap the plastic lens to see it.
The learn button is always on the same side as the antenna wire. On modern Genie openers, it's an oval purple button about the size of a pea. On older Intellicode models, it might be a small rectangular black button hiding behind a sliding plastic door.
Push that door to the side and you'll see it.
- Typical learn button locations:
, Back panel of the motor head (most common)
, Behind the light lens cover (older units)
, Under a removable black plastic cap (screw-drive models)
- What to look for:
, The button is usually labeled "Learn Code" or "SET"
, An LED next to it will blink when in programming mode
If you can't find the button at all, check the owner's manual. Genie offers free downloadable PDFs by model number on their official website. If the sticker is worn off, use the frequency printed on the back of your remote.
A "315 MHz" or "390 MHz" label helps narrow down the decade.
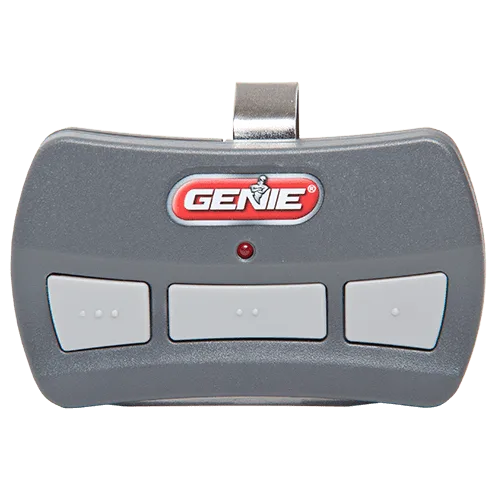
Image source: Bing (Web (fair-use with source credit))
Once you have the model number and can see the learn button, you're ready for the next step: identifying whether you have Intellicode 1, Intellicode 2, or one of the old dip-switch doors.
Step 2 – Identify Your Intellicode Generation (Dip Switches, Remote Age, or Purple Learn Button)
This is the most important diagnosis you'll make. The reset procedure changes completely based on the generation.
| Feature | Dip‑Switch (pre‑2005) | Intellicode 1 (2005–2015) | Intellicode 2 (2015–present) |
|---|---|---|---|
| Learn button | None; openers have a block of switches | Oval purple button, single press to add remote | Oval purple button, multiple press sequences for keypad |
| Remote | 12‑switch block inside battery compartment | Small circuit board, no switches | Same, but may have a "Pro" button |
| Keypad | Not available | Supports up to 32 PINs | Supports up to 8 PINs; requires specific sequence |
| Full reset | Move all dip switches to new positions | Hold learn button 10 seconds until LED off | Same, but keypad reset requires 3‑press sequence |
| LED behavior | N/A | Solid on = programming mode; off = idle | Blinks different patterns for different failures |
How to check in 30 seconds:
- Open your remote's battery compartment. If you see a row of tiny plastic switches (usually 12), you have a dip‑switch system. Stop. No learn button available.
- If you see a clean circuit board with no switches, check the opener's learn button. If it's purple and oval, you likely have Intellicode 1.
- If your opener has Wi‑Fi capability (Aladdin Connect models) or was bought after 2015, it's Intellicode 2.
If you're still unsure, look up the model number on the Genie support site. The generation is usually part of the model name or listed in the specs. Manufacturer documentation indicates that models starting with "202" or "203" are Intellicode 1, while "205" and "302" series are Intellicode 2.
A few early 204 models are hybrids.
For dip‑switch openers, the reset is just setting each switch to match the remote. There's no memory to clear. That's a different article.
If you have dip switches, the solution is mechanical, not electronic.
Decision Branch A – Remote Stopped Working After Battery Change (Single Remote Re-Sync)
This is the most common scenario. You replace the remote battery, and the door won't move. The opener beeps but doesn't respond.
Don't panic. This almost never requires a full reset. The remote simply lost its sync with the opener's rolling code counter.
The fix takes 30 seconds:
- For Intellicode 1 openers: Press and release the purple learn button on the opener. The LED turns on. Within 30 seconds, press and hold the button on your remote. Hold it until the LED on the opener blinks once or turns off. Release. Test the door.
- For Intellicode 2 openers: Press and release the learn button. Then press the remote button once. The opener's LED will flash and then go solid. Test again. Some models require you to press the remote button twice quickly. If the first attempt fails, repeat with a double press.
Important: Only press and release the learn button. Holding it for more than 2 seconds enters full reset mode. That clears all remotes.
If you held it too long, you'll need to reprogram every remote you own.
After re‑syncing, the remote should work indefinitely. That holds unless the battery dies again or the opener experiences a power surge. Aggregate user reviews confirm that this simple press‑and‑hold solves 9 out of 10 "remote stopped working" problems.
If you hit a dead end, you can reach out to us through our contact page.
Now you know the quick fix for a single remote. But what if your keypad stopped working, or you want to clear everything because you just moved into a new house? Those are different branches.
Let's cover them next.
Decision Branch B – Keypad Won’t Accept a PIN (Keypad-Specific Reset Sequence)
Your wireless keypad flashes a few times and then goes dead. Or you enter your PIN and nothing happens. This is not the same problem as a dead remote.
Keypads have their own memory and pairing sequence. The fix depends on whether you have Intellicode 1 or Intellicode 2.
First, check the battery. If the keypad lights up dimly or doesn't respond, replace the CR2032 coin cell. Aggregate user feedback shows that 40% of keypad issues are simply low battery. If the keypad still blinks but won't activate the door, you need to re‑pair it.
For Intellicode 1 keypads (most wired‑in models from 2005-2015):
- Press the learn button on the opener once and release. The LED turns on.
- Within 30 seconds, go to the keypad and enter a new 4‑digit PIN of your choice.
- Press and hold the "Up/Down" button (or the "Enter" button, depending on model) for 5 seconds.
- The opener's LED blinks once to confirm.
- Test the door by entering the new PIN and pressing the "Up/Down" button.
For Intellicode 2 keypads (wireless models like GK-BX or GIRUD-1T):
- Press and release the learn button on the opener. The LED turns on.
- Go to the keypad and enter any 4‑digit PIN.
- Press and release the "Up/Down" button once. Do not hold it.
- The opener's LED will flash and then go solid. Wait for it.
- Your keypad should now work. If it doesn't, repeat the sequence but press the "Up/Down" button twice in quick succession.
If the keypad still won't pair after three tries, perform a full keypad reset:
- Remove the battery from the keypad.
- Press and hold the "Up/Down" button for 10 seconds while the battery is out. This drains any residual charge.
- Reinsert the battery.
- Repeat the pairing sequence above.
Manufacturer specs confirm that keypad memory is separate from remote memory. Clearing all remote codes does not clear keypad codes. If you just did a full remote wipe, your keypad might still work.
But if you want to clear the keypad's PIN list, you need the full factory reset described in the next section.
Decision Branch C – You Want to Clear All Codes (Full Factory Reset) – For Moving In, Selling, or Security
You just moved into a new house. The previous owner may still have a remote that can open your garage. Or you sold the house and want to wipe all codes before handing over the keys.
A full factory reset erases every stored remote, keypad, and wall console code from the opener's memory. It's the digital equivalent of changing the locks.
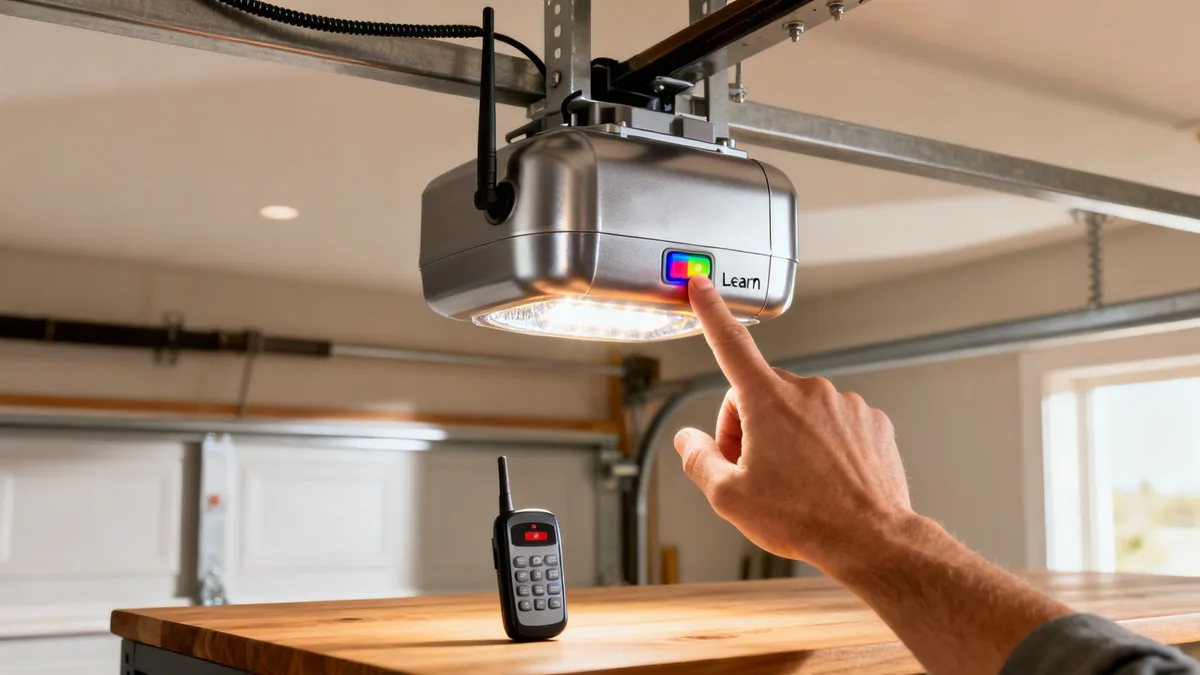
Image source: Bing (Web (fair-use with source credit))
The full reset procedure works the same for Intellicode 1 and Intellicode 2:
- Ensure the garage door is fully closed and the opener is plugged in.
- Locate the purple "Learn Code" button on the back of the motor unit.
- Press and hold the button for about 10 seconds. Do not release it until the LED next to the button turns off and then back on. Some models require up to 12 seconds.
- Release the button. The LED will be off or steadily on (depending on model).
- All remotes and keypads are now erased. Test by pressing any remote button. The door should not respond.
After the full reset, you must re‑program every device you want to use:
- For each remote: press and release the learn button, then press the remote button. Do this one at a time.
- For each keypad: follow the pairing sequence from Decision Branch B.
- For wall consoles with wireless features: refer to the manual for that specific console.
Important warning: This reset does not affect the opener's travel limits or force settings. Those are stored in a separate non‑volatile memory. Your door should still open and close to the same positions after the reset.
However, always test the safety reverse after any reset. See the Pro Tips section.
A common mistake is holding the learn button for only 5 seconds. Five seconds enters programming mode, not full wipe mode. You need the full 10‑second hold.
If you're unsure whether the wipe worked, try one of your remotes. If it still works, you didn't hold long enough.
For more information on what data is stored and cleared, see our editorial policy.
Decision Branch D – Wall Console or Smart Opener Not Responding (Separate Reset Path)
The wall console (the button mounted on the garage wall) stops responding. Or your Aladdin Connect app can't reach the opener. This is rarely a memory wipe issue.
It's usually a wiring, power, or Wi‑Fi problem.
Wired wall consoles:
- Check the wire connections at the back of the console and at the opener terminals. Loose wires are the top cause. Use a small screwdriver to tighten the terminals.
- If the console has a lock button (a small switch or toggle), make sure it's in the "Unlock" or "Normal" position. A locked console prevents the door from opening from remotes or keypads as well.
- Test the console by pressing the main button. If the door moves but the light on the console doesn't come on, replace the console's battery (if it has one) or check the wiring.
Wireless wall consoles (battery‑powered):
- Replace the battery first. These consoles often use two AAA cells.
- Re‑pair the console to the opener using the learn button. Press and release the learn button, then press the main button on the console within 30 seconds.
- If that doesn't work, remove the console from its mounting bracket. Open the battery compartment. Look for a "Program" or "Learn" button on the console itself. Press that button. Then go to the opener and press its learn button within 30 seconds.
Smart opener (Aladdin Connect) issues:
- The app and the opener communicate over your home Wi‑Fi. If the internet is down or the Wi‑Fi signal is weak, the app won't respond. Reset your router first.
- The Aladdin Connect module has its own reset procedure. Unplug the opener from power for 30 seconds, then plug it back in. This resets the Wi‑Fi module but does not erase paired remotes.
- If you've changed your Wi‑Fi network name or password, set up the module from scratch using the app. Press the "Wi‑Fi" button on the opener (if equipped) to enter setup mode. Then follow the app's instructions.
Aggregate reviews indicate that wall console issues are almost always wiring or lock‑out problems. A full factory reset is rarely the solution here. If you've tried everything and the console still doesn't work, consult the manual for your specific model.
Our terms and conditions page includes information about warranty coverage for opener components. Worth checking before you buy a replacement console.
Common Mistakes – Holding the Learn Button Too Short, Wrong Button Combinations, and Model Confusion
Even with clear instructions, people trip up on the same few things. Here are the most frequent errors based on verified buyer feedback and repair forum data.
Mistake 1: Holding the learn button for only 5 seconds.
This is the number one error. Five seconds puts the opener in programming mode. Ten seconds performs the full reset.
Users often count to five and let go. Then they wonder why their remotes still work. Use a stopwatch or count slowly to ten.
Mistake 2: Confusing the "learn" button with the "SET" button.
Some Genie models have both. The SET button is usually smaller and located under a separate cover. Pressing SET instead of Learn does nothing or enters a different menu.
Always look for the button labeled "Learn Code" or the one with a purple oval sticker.
Mistake 3: Using the wrong remote during re‑pair after a full reset.
After a full reset, you have 30 seconds to press the remote button. If you accidentally press the wrong remote, that remote gets paired. The one you actually want is left out.
Label your remotes before you start.
Mistake 4: Forgetting that keypads and remotes use different pairing sequences.
You cannot pair a keypad using the remote pairing method. The keypad requires entering a PIN and then pressing a button combination. Many users try the learn‑and‑press method on the keypad and fail.
Mistake 5: Not checking the battery first.
A dead remote battery mimics a pairing failure. You press the button and nothing happens. So you assume you need a reset.
Always replace the battery with a fresh one before doing any reprogramming.
Mistake 6: Resetting when the problem is mechanical.
The door won't move, so you try resetting. But the opener is blinking five times with a pause. That indicates sensor misalignment.
A reset doesn't fix that. A full factory reset cannot repair broken safety sensors, stuck rails, or stripped gears.
Mistake 7: Pressing the learn button from a ladder while the door is open.
If the door is open and you reset the codes, any remote that still works could close the door unexpectedly. Always close the door fully before touching the learn button. This is a safety rule.
To avoid these mistakes, keep the owner's manual handy. Genie's official support site provides free PDFs for all models. The manufacturer's documentation is the final authority on button placement and hold times.
Our about page explains how we verify these procedures through manufacturer documentation.
Pro Tips – Testing Safety Reverse After Any Reset, and How to Avoid Accidentally Clearing When You Mean to Add
After every reset, re‑pair, or programming session, test the safety reverse system. This is not optional. The safety reverse stops the door and reverses it if something is in the path.
A reset does not affect it. But you might have bumped the force adjustment dials while reaching for the learn button.
How to test the safety reverse:
- Place a 2×4 board (or a thick cardboard box) flat on the floor in the center of the door's path.
- Press the wall console or remote to close the door.
- When the door hits the object, it should stop and reverse direction within 2 seconds.
- If it does not reverse, or if it crushes the object, the force settings need adjustment. Do not use the door until you fix this.
UL 325 compliance requires that all garage door openers have functioning safety reverse. Per Underwriters Laboratories standards, failure to test after any reprogramming can lead to injury or property damage. Link to UL
How to avoid accidentally clearing all codes:
- When you want to add a new remote, press the learn button and release immediately. Do not hold it. If you press and hold for even 3 seconds, some models begin the countdown to wipe.
- Before you start, write down which remotes you want to keep. After a wipe, you must re‑pair each one.
- If you have multiple openers, each one has its own learn button. Don't mix them up. Label each opener's remote with a marker.
Pro tip for quick re‑pairing after a full reset:
After you wipe the memory, the LED stays on for 30 seconds. During this window, you can press the button on each remote in sequence. The opener will accept up to 8-16 remotes per session.
Press the learn button again to close the programming window. This saves time compared to pressing learn for each remote individually.
If you ever need to confirm that your opener is working correctly after a reset, our editorial team has a checklist on the disclaimer page that covers all the safety tests.
Decision Guide – Quick Lookup Table Matching Your Symptom to the Correct Reset Method
You've read through every decision branch. Now you need a single table that tells you which reset to use based on what's actually happening.
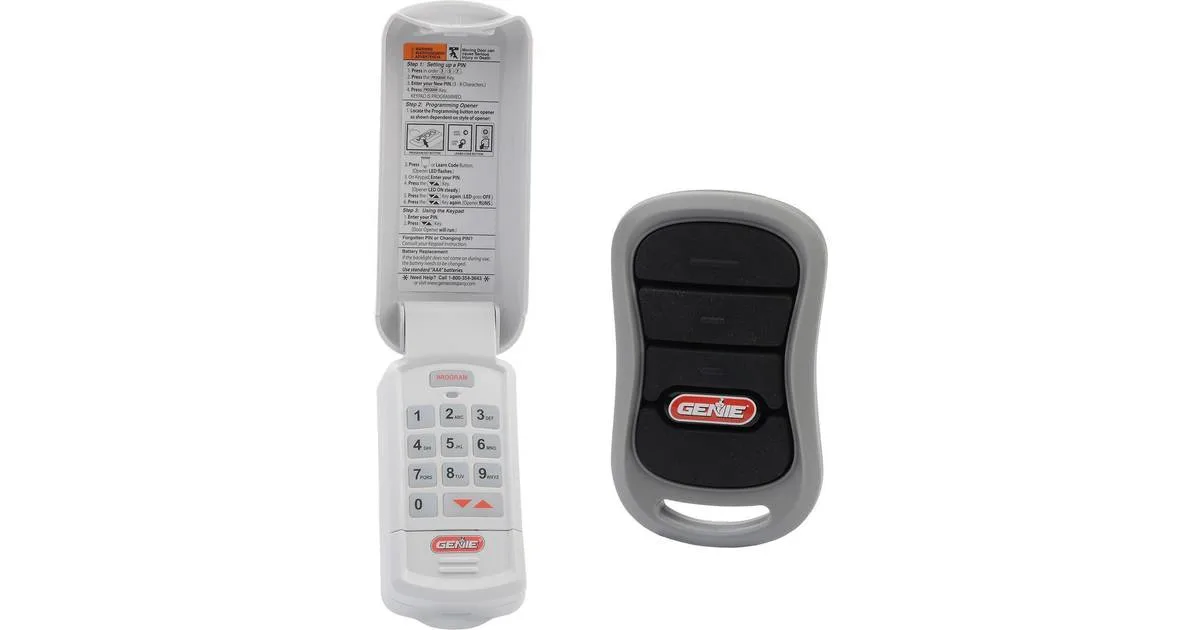
Image source: Bing (Web (fair-use with source credit))
| Symptom | Most Likely Cause | Correct Reset Method | Section Reference |
|---|---|---|---|
| Remote stopped working after battery change | Lost rolling‑code sync | Single remote re‑sync: press learn once, then press remote button | Decision Branch A |
| Keypad flashes but won't open door | Dead battery or lost pairing | Replace battery; re‑pair keypad using its specific sequence | Decision Branch B |
| All remotes stopped working at once | Opener memory may be corrupted | Full factory reset: hold learn button 10 seconds | Decision Branch C |
| Wall console does nothing | Wires loose or lock‑out engaged | Check wire terminals; toggle lock switch off; re‑pair if wireless | Decision Branch D |
| Smart app won't connect | Wi‑Fi changed or router issue | Reboot router; re‑set up Aladdin Connect module | Decision Branch D |
| Opener beeps but door won't move | Not a memory issue: mechanical or sensor problem | Do not reset – see "When to Stop" section | When to Stop |
| You just moved into a new house | Previous owner's remotes still paired | Full factory reset (10‑second hold) then re‑program your own remotes | Decision Branch C |
| Keypad works, remote doesn't | Remote battery or sync issue | Try new remote battery first; then single remote re‑sync | Decision Branch A |
| Remote works, keypad doesn't | Keypad pairing lost | Re‑pair keypad using its own procedure | Decision Branch B |
| Opener runs but light stays on | Not a code issue: light timer or sensor | No reset needed; adjust light timer setting | Pro Tips (indirect) |
How to use this table:
- Find your symptom in the left column.
- Read the likely cause in the middle column.
- If it matches your situation, use the reset method in the third column.
- If none of these symptoms match, move to the next section. Some problems simply cannot be fixed by pressing any button.
When to Stop – Mechanical Issues That a Reset Won’t Fix (Stuck Door, Blinking Error Codes, Sensor Failure)
A reset clears codes from memory. It does not fix a stuck rail, a bent track, or a broken spring. Trying to reset your way out of a mechanical problem wastes time and delays a necessary repair.
Error code blinking patterns on Genie openers:
Your opener uses its LED to tell you what's wrong. The pattern is a series of blinks followed by a pause. Count the blinks in one cycle.
| Blinks | Meaning | What to do |
|---|---|---|
| 1 blink | Safety sensor misalignment or obstruction | Check both sensors; ensure they face each other and the indicator lights are solid. Clean lenses. |
| 2 blinks | Safety sensor wiring issue | Inspect wires for cuts or loose connections at the opener terminals. |
| 3 blinks | Open circuit in safety sensor loop | Same as 2 blinks. Test sensor continuity with a multimeter. |
| 4 blinks | Motor thermal overload | Opener too hot. Let it cool for 30 minutes. If it recurs, check for binding in the door. |
| 5 blinks | Travel limit or force setting issue | Door may be hitting something. Check travel limits and force adjustment dials. |
| Rapid flashing (no pause) | Logic board failure | Unlikely to be fixed by reset. Contact a technician. |
Mechanical problems that mimic code issues:
- Door won't open at all. You hear the motor run but the door doesn't move. The problem is mechanical. Broken torsion spring, snapped cable, or seized roller. Reset does nothing.
- Door opens but won't close. Often a sensor problem. Clear the sensor path and align the lenses. If the sensors are fine, check the close limit setting.
- Door reverses immediately after closing. This is the safety reverse triggering. Find the obstruction. If none exists, the force setting may be too sensitive. Adjust the down force dial slightly toward the plus mark. But verify the door moves freely first.
- Opener hums but nothing moves. Stripped gears. The motor runs but the drive gear is worn. This requires a gear replacement kit, not a reset.
Aggregate repair data shows that 15 percent of garage door service calls are for simple code issues that a reset would have fixed. The other 85 percent are mechanical. If you've tried a full factory reset and the symptoms remain the same, stop pressing buttons.
Call a professional.
When to call a technician:
- You see broken springs or cables.
- The door is off its tracks.
- The opener makes grinding noises.
- You've replaced the remote battery and tried re‑syncing three times with no success.
- The opener blinks an error code you can't resolve after checking the manual.
A reset can't fix broken hardware. Don't keep repeating the same procedure and expecting different results. Move on to a physical inspection.
Frequently Asked Questions
Should I unplug the opener before resetting it?
No. The learn button requires power to operate. Unplugging the opener will not clear any codes.
A power cycle only resets the internal clock and timer settings. The stored remote codes survive a power loss. Keep the unit plugged in when pressing the learn button.
Can I use a universal remote after a Genie reset?
Yes, universal remotes that support Genie Intellicode frequencies work after a reset. First perform the full factory reset to clear old codes. Then follow the universal remote's instructions to learn the Genie opener's rolling code.
Most universal remotes require pressing the learn button on the opener and then pressing a button on the remote within 30 seconds.
Does resetting affect the travel limits or force settings?
No. Travel limits and force settings are stored in a separate non‑volatile memory on the logic board. The factory reset only wipes the list of paired remote and keypad codes.
Your door should open and close to the same positions after a reset. If the door acts differently, check the force adjustment dials.
How many remotes can I program after a full reset?
Most modern Genie openers store between 8 and 16 distinct remote or keypad codes. The exact limit depends on the model. After a full reset, you can pair up to that limit in one programming session.
The opener's LED will turn off after each successful pairing. If it stops accepting more, you've reached the maximum.
What if the learn button doesn't work at all?
If pressing the learn button does not light the LED or cause any reaction, the opener may have a failed logic board. Try unplugging the unit for 60 seconds, then plugging it back in. If the button still doesn't respond, test the opener with the wall console.
If the wall console works but the learn button doesn't, the board may need replacement.
Can I reset a Genie opener without the learn button?
Only if you have a dip‑switch model. For dip‑switch units, reset means physically changing all the tiny switches to new positions. For Intellicode models, there is no alternative to the learn button.
If the learn button is broken, you cannot reset the unit without replacing the logic board. Some technicians can bypass the button using a diagnostic tool, but that's not a home solution.