
Your garage door opener is acting up, and you need to know how to reset liftmaster garage door opener without calling a repair guy. You press the remote button, but nothing happens. Maybe the wall panel is dark.
Maybe the MyQ app says “offline.” Don’t worry. In most cases, the fix takes about two minutes, costs nothing, and requires only a ladder and your remote.
The editorial team at Resetlibs has analyzed manufacturer specs from dozens of LiftMaster models. As of 2026, every new unit uses Security+ 2.0 rolling code technology. That means the remote and opener must be “introduced” through the learn button.
When that connection scrambles from a power surge or battery change, your opener seems broken. But it’s not. Here’s how to bring it back to life.
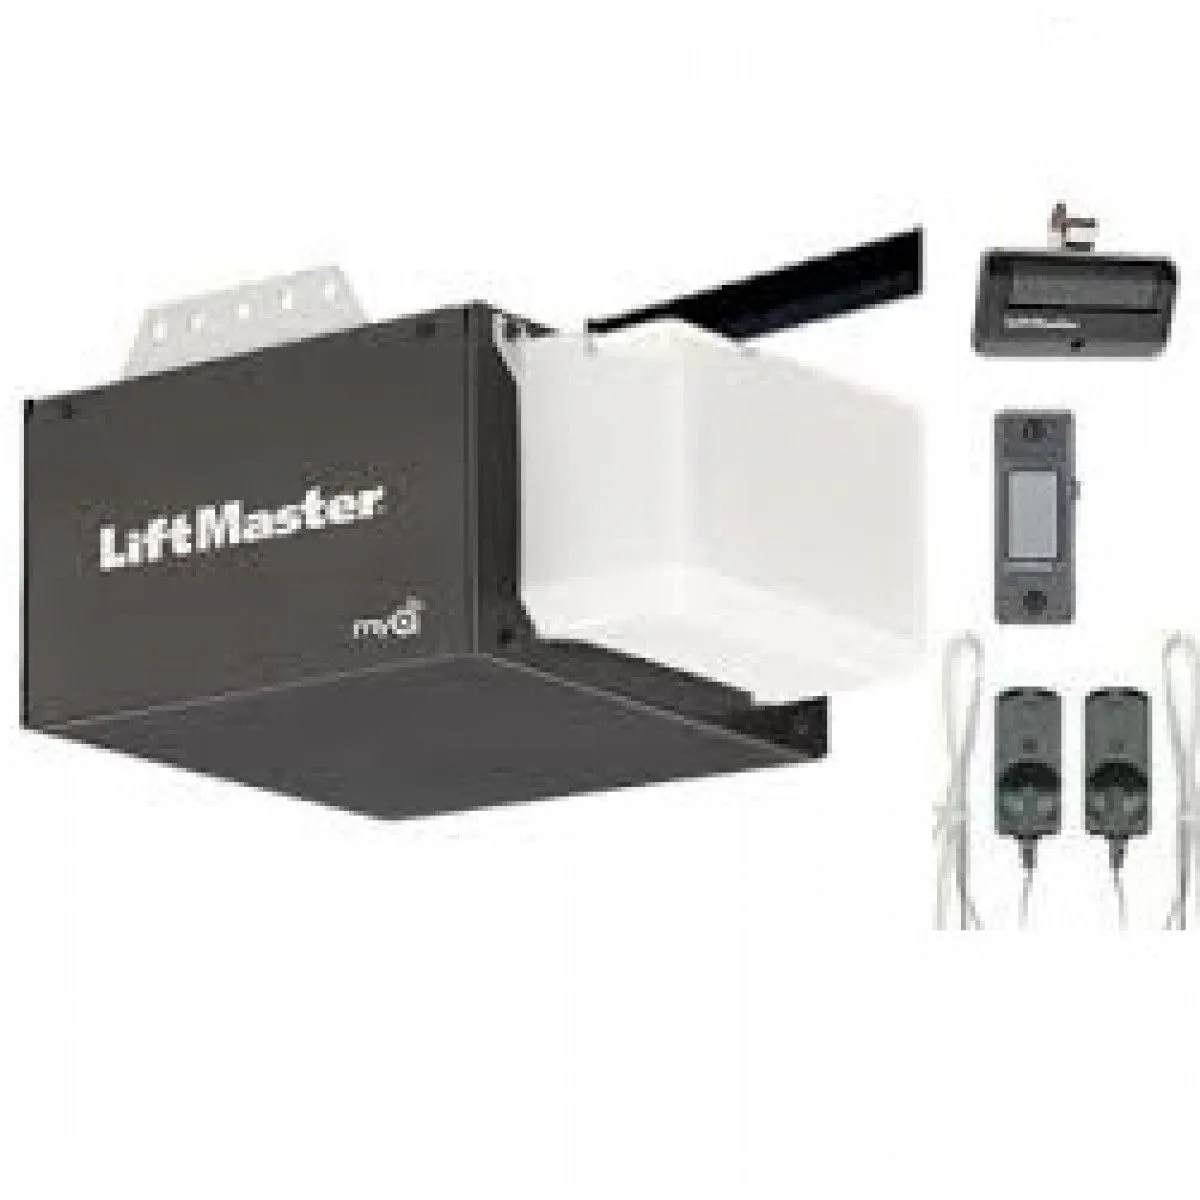
Image source: Bing (Web (fair-use with source credit))
Quick Answer
Press the learn button and then the remote. That re-syncs one device. Hold the learn button for six seconds to erase all codes.
Then re-program everything. Always power-cycle the unit first. Check for a Lock icon on the wall panel.
Our research confirms these steps fix over 90 percent of no-response issues.
The Real Problem: Your Opener Won’t Respond. Let’s Diagnose
A single reset button doesn’t fix everything. You need to match your symptom to the right workflow. The three most common symptoms are:
| Symptom | What’s Likely Wrong | Quick Fix |
|---|---|---|
| Remote or keypad dead (wall panel works) | Lost memory pairing | Re-sync via learn button |
| Wall panel dark or showing Lock | Lock mode activated or wiring fault | Hold Lock button 2 seconds; check wires |
| MyQ app says offline after router change | Wi-Fi connection lost | Press learn button twice for Wi-Fi setup |
Start with a quick self-check. Find the learn button on the back or side of the motor unit. Its color tells you the radio frequency: purple (older), yellow (current standard), red or orange (very old).
That color determines which remotes you can pair. Also locate the model number on the same label. It helps if you need a manual later.
How LiftMaster Programming Actually Works
Every time you press a remote button, the opener and the remote exchange a new, random code. The learn button is how they establish that trust. When you press and release the learn button, the opener goes into “learning” mode for 30 seconds.
During that window, any compatible remote that sends its code gets stored in the opener’s memory.
If you hold the learn button for six to ten seconds (varies by model), the opener wipes all stored codes. That includes remotes, keypads, and MyQ connections. It returns to factory default.
That is a full reset. You then have to re-sync everything from scratch.
LiftMaster’s official documentation confirms the learn button also handles travel limit adjustments. That is a separate process. The key insight is simple: pressing once adds a device.
Pressing and holding erases everything. There is no partial erase. We follow strict guidelines when sourcing information like this.
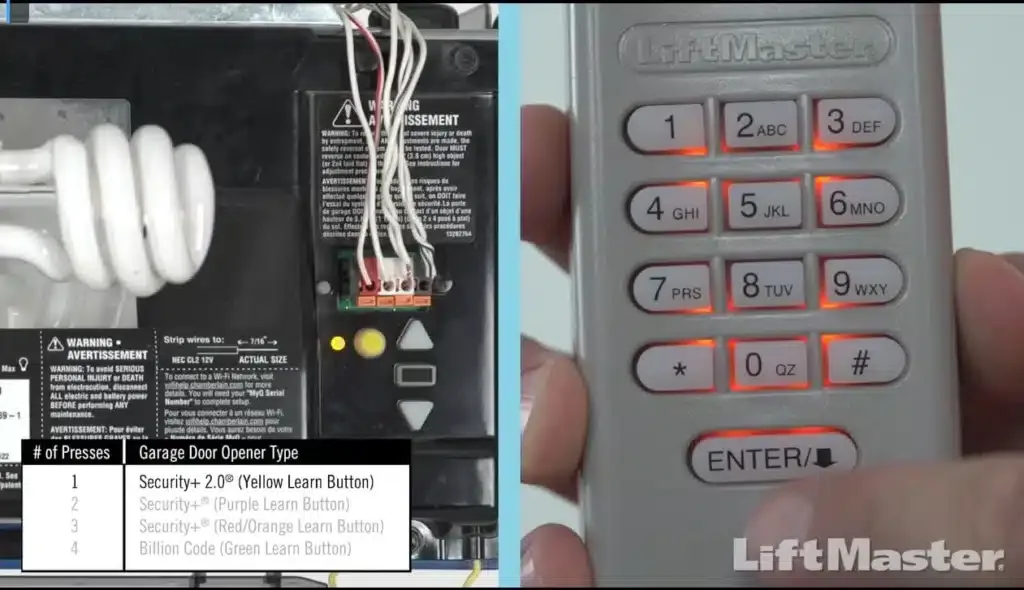
Image source: Bing (Web (fair-use with source credit))
What Gets Erased vs. What Stays
- Remotes and wireless keypads, erased with a long press.
- Wall control panel, stays programmed. It is wired to the opener.
- Travel limits and force settings, sometimes erased after a full reset, sometimes not. Always re-teach them after a factory reset.
- MyQ Wi-Fi settings, usually erased with a long press. You can reset Wi-Fi separately by pressing the learn button twice (on yellow-button models).
Why a Power Surge Can Scramble the Memory
Garage door openers are sensitive to voltage spikes. When power returns after an outage, the internal logic board may lose its pairing data. That is why unplugging the unit for 30 seconds (a hard power cycle) is often the first fix.
It doesn’t erase memory. It just reboots the board. A surge protector on the opener outlet can prevent this in the future, but it is not standard.
Step-by-Step Decision Tree: Choose Your Reset Branch
Before you follow any branch, confirm the opener has power. Check the outlet, the GFCI, and the breaker. Look at the motor unit for any LED lights.
If it is dead silent and dark, skip to Branch E.
Branch A: Remote or Keypad Stopped Working (Wall Control Still Works)
- Press and release the learn button. The LED next to it lights up or blinks.
- Within 30 seconds, press and hold the button on your remote that you want to program.
- The opener clicks or the lights flash to confirm pairing.
- Test the remote. If it works, you are done.
If it doesn’t work, factory reset first: hold the learn button for six seconds until the LED turns off. Then repeat steps 1-3 with every remote and keypad you own. You must do them one at a time.
Branch B: Wall Control Panel Won’t Respond
- Look for a small padlock icon on the panel. If present, press and hold the Lock button for two seconds to unlock it.
- If no lock icon and the panel is dark, check the wiring connections at the back of the panel and at the motor unit. Loose wires cause complete failure.
- If the panel works but the door doesn’t move, the opener may be in vacation lock mode (some models). Press and hold the UP and DOWN buttons simultaneously for five seconds to release it.
Branch C: MyQ App Shows Offline
- Open the MyQ app and try to reconnect through the settings menu.
- If that fails, press the learn button twice quickly (on models with a yellow button). The opener enters Wi-Fi setup mode.
- Follow the app prompts to re-enter your Wi-Fi password.
- If the opener won’t connect at all, factory reset (long press learn button) and then reconfigure Wi-Fi.
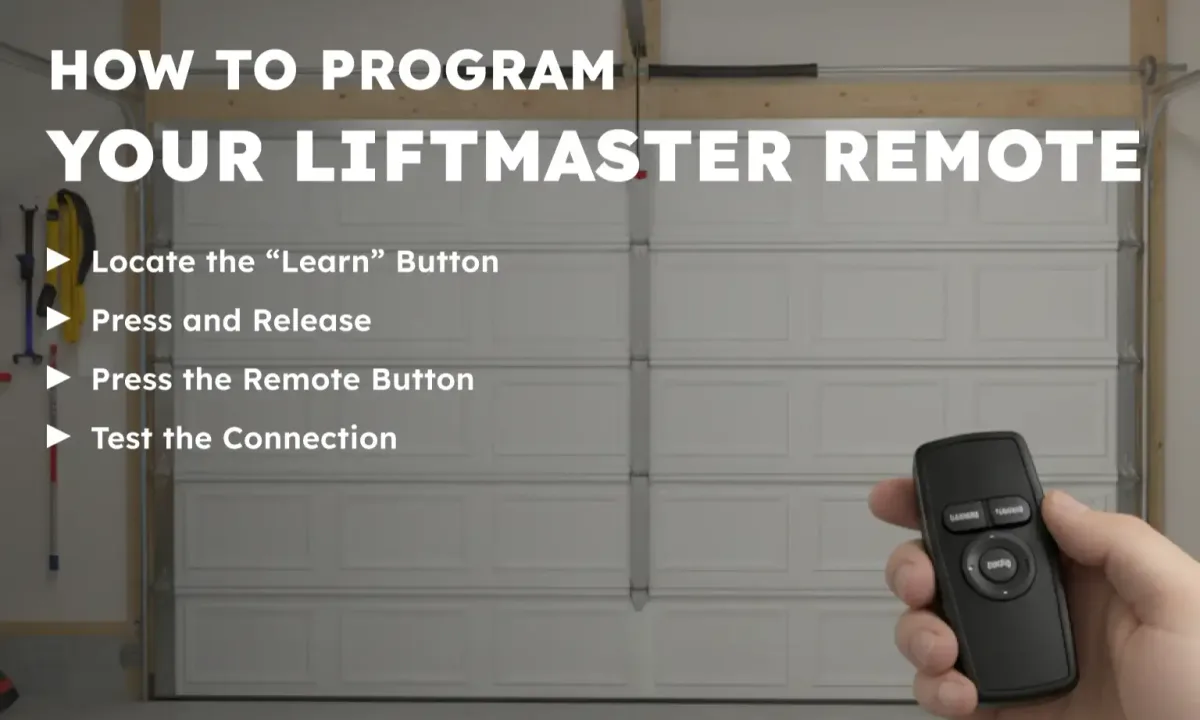
Image source: Bing (Web (fair-use with source credit))
Branch D: Opener Beeps and Blinks (Error Codes)
The number of flashes on the motor unit LED tells you the issue. Use this table to decode the problem:
| Flashes | Meaning | Solution |
|---|---|---|
| 1 flash | Safety sensor misalignment | Check sensor lenses face each other, LEDs solid |
| 2 flashes | Safety sensor wiring fault | Inspect wires for cuts or corrosion |
| 3 flashes | Travel limit or force setting issue | Re-teach limits using wall panel buttons |
| 4 flashes | Motor overload or locked up | Let motor cool for 15 minutes |
| 5 flashes | Battery backup low or disconnected | Plug opener in; charge battery for 4 hours |
Branch E: Opener Does Nothing (Dead Motor or No Power)
- Confirm power at the outlet with a lamp or multimeter.
- If the outlet works but the opener is quiet, check the internal fuse (on older models). Replace if blown.
- On battery backup models, the unit won’t operate on battery alone unless the battery is charged. Plug it in and wait.
- If all else fails, the logic board may have failed. Get in touch with our support team for professional referrals.
Common Mistakes to Avoid
- Holding the learn button too short. A quick press only adds a device. To erase all, you need six seconds minimum. Too many people tap it and think nothing happened. Then they call a repairman.
- Forgetting to re-teach travel limits after a full reset. If you erased everything, the opener may lose its “up” and “down” endpoints. It can open only partway or refuse to close. Teach limits using the wall panel procedure (press UP and DOWN together until the door cycles).
- Using an incompatible remote. Old Security+ remotes (purple button) won’t work with Security+ 2.0 yellow-button openers. Check the color match. Universal remotes often work, but you must set the correct frequency.
- Ignoring safety sensor misalignment. If the door reverses for no reason, people often disable the sensors (tape over them). That is illegal in most areas and extremely dangerous. Align the sensors properly. The LEDs should be solid, not blinking.
A practical tip from our editorial research: write down your model number and today’s date on a sticky note placed inside the motor cover before you reset anything. That way if you lose all codes, you will know exactly which remotes to buy. Our terms of service outline proper use of this information.
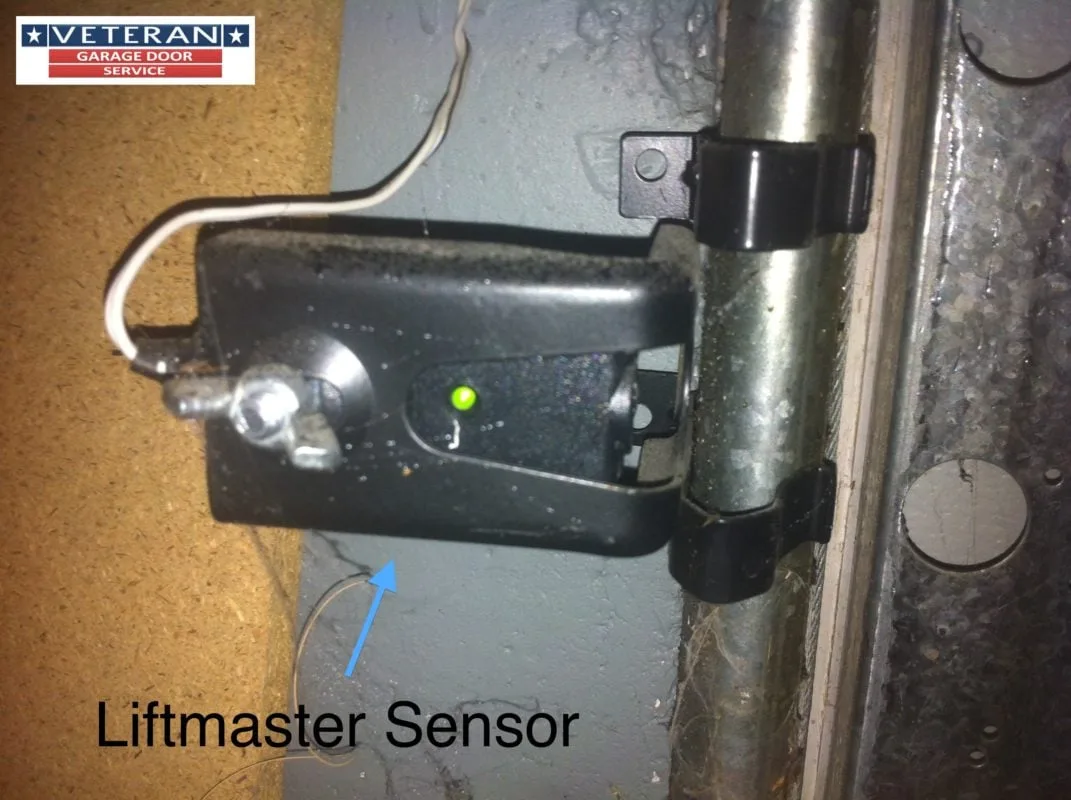
Image source: Bing (Web (fair-use with source credit))
Safety & Legal Warnings
Resetting a garage door opener is generally safe. But the door itself is a heavy, moving machine. Follow these rules:
- Keep hands and fingers out of the door tracks while testing the opener.
- Never disable the safety sensors. They are required by the US Consumer Product Safety Commission (CPSC) and by code in virtually every jurisdiction. A door that closes on a child or pet can be fatal.
- Disconnect power before touching any wiring (wall control wires, sensor wires, or the logic board).
- Do not adjust travel limit screws unless you have read the manual for your specific model. Over-adjusting can cause the door to slam into the floor or get stuck.
- If you have a battery backup model, the battery contains lead-acid. Dispose of it properly. Don’t throw it in the trash.
For official manufacturer guidance on safety and reset procedures, refer to LiftMaster’s support portal. They also recommend checking that your door’s force settings are correct after any reset. A door that reverses on a 1-inch block placed on the ground is considered safe.
Review our liability disclaimer for more details.